How to Draw A Smooth Curve in ArtRage
If you want to draw a perfectly smooth curving line, such as an arc, a circle, or a wavy line, then you can use ArtRage’s automatic smoothing settings, as well as the grids, stencils and selection tools.
On This Page
- Freehand
- Smoothing
- Symmetry
- Guided Lines
- Grids & Guides
- Symmetry
- Stencils
- Stencils & Selections
- Editing Lines: Transform
Note: These tips all refer to ArtRage 5. If you have a different edition, you may not have all the same options available.
1. Freehand Line Drawing
If you need to draw a smooth curve free hand, then you can use the Smoothing setting for certain tools to smooth out your strokes. This is much quicker than setting up a template of some kind and lets you adapt and sketch quickly.
If you are working freehand, it helps to zoom out (so that your stylus travels a shorter distance) and to pull the stylus towards you, inside of pushing it away from you when drawing. It can be especially effective combined with other features, like grids or symmetry.
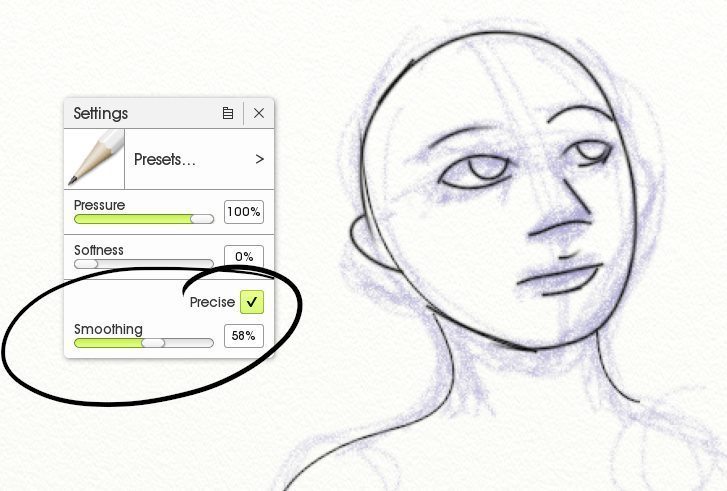
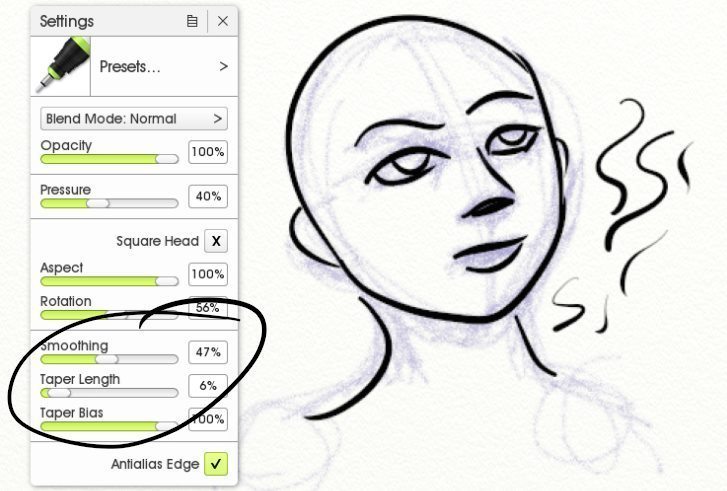
Smoothing
The Ink Pen, Custom Brush and Pencil (Precise Mode) all offer a ‘Smoothing’ setting. This will automatically correct your stroke to smooth out wobbles and sharp edges.You will need to adjust the Smoothing percentage up or down depending on the size of your stroke and the size of the tool.
2. Using Stencils & Layout Tools to Guide Your Strokes
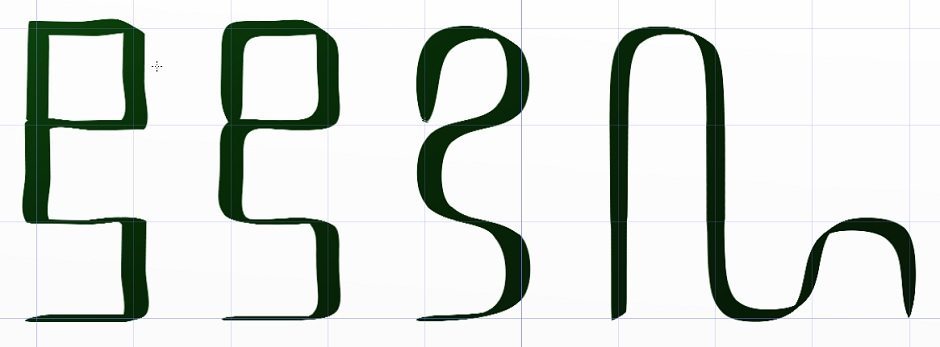
Grids/Guides
Grid and Guide lines have a ‘Snap to’ function. If you turn this on, you can draw along the horizontal and vertical lines to get perfectly spaced points, and then allow the Smoothing effect to ‘correct’ your zigzag or square edges into a smooth curve.
Symmetry
Paint Symmetry (Tools > Paint Symmetry) will also help you draw symmetrical shapes, especially if you have trouble making both sides match. You can use the Content Perspective Transform option to adjust a symmetrical front view to a sideways angle later.
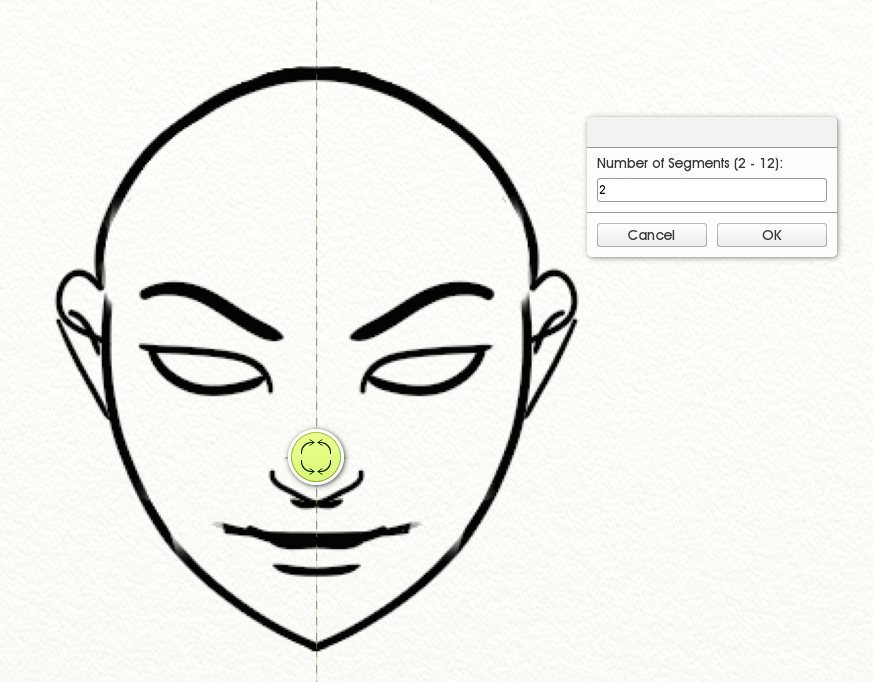
Note: Symmetry replicates your stroke input, not the paint. This means that Stencils and Selections need to be applied to each segment separately.
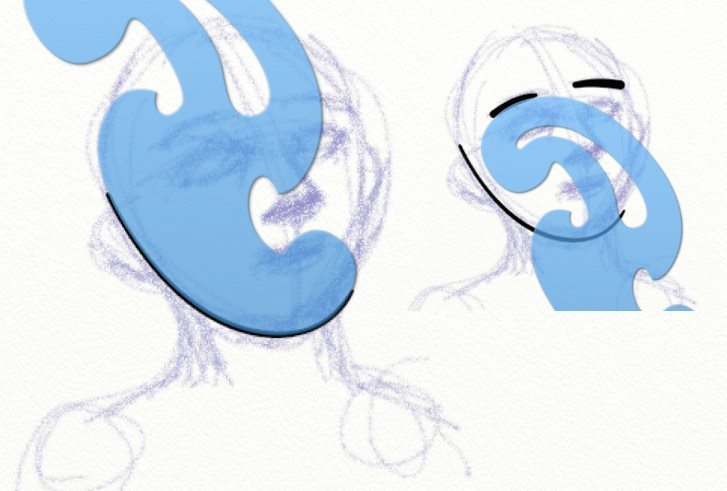
Stencils
There are several default stencils featuring default shapes and curves. You can use the circles and french curves to create almost any curving line. Stencils can easily be resize, rotated, moved, and inverted. You can also create a new stencil out of other images.
- Default Mode: Use the default mode in stencils to fill in or block out shapes.
- Ruler/Guide Mode: Switching the stencil to Ruler or Guide mode will snap the cursor to the edge of the stencil, letting you draw neatly along it.
Using Selections With Stencils
You can use active selections in combination with stencils if you want to paint a larger area with a complicated shape. The Selection tool lets you draw freehand, or create circles and ellipses, to get curving edges. You can use the Selection tool in ‘Paint Area’ mode to paint a neat curving line around the edge of a Stencil in Ruler or Guide Mode. You can then paint inside this active selection using any other tool.
Note: Selections are not blocked by stencils, only the path of the cursor, so the active selection will extend under the stencil in Ruler and Guide mode, just like a normal paint stroke does in Guide mode.
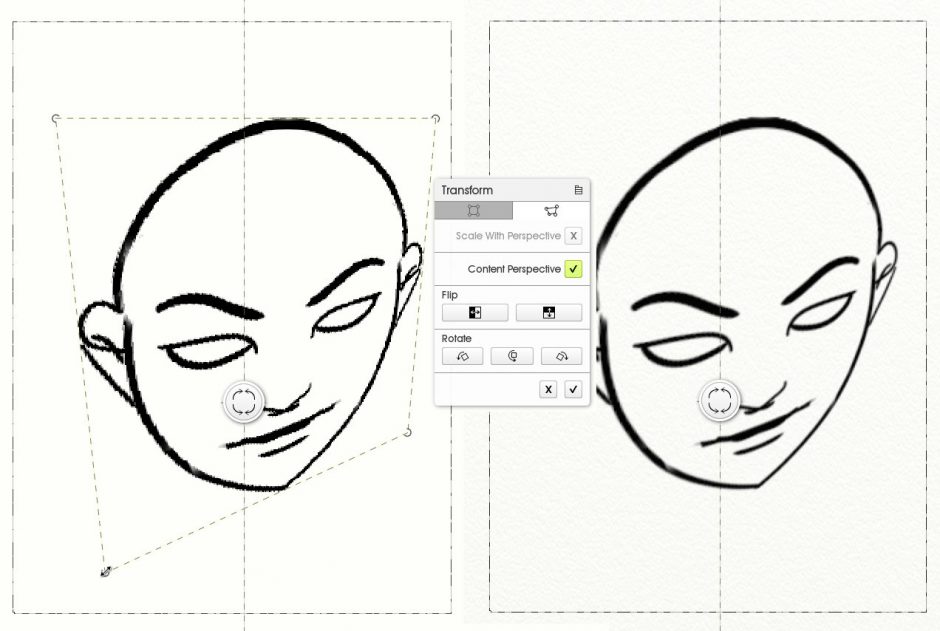
3. Editing Existing Strokes with Transform
If you draw a line, but it isn’t quite right, you can select it and use the transform tool to adjust it. Switch between the Linear (fixed) and Free tabs in the Transform menu to scale, flip and distort the line.
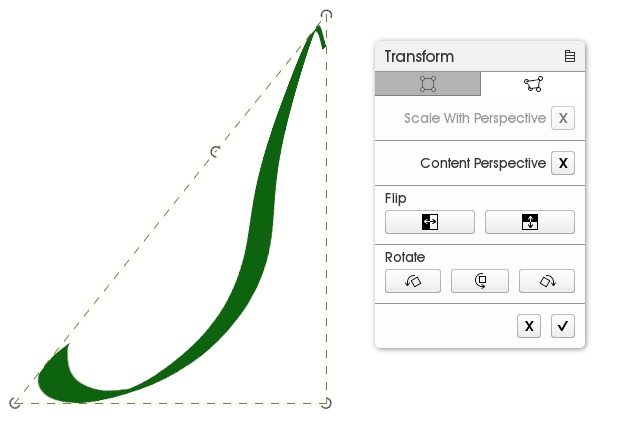
The Content Perspective option in the Free Transform tab makes it easy to accurately model a sideview of a 3D form by distorting a perfectly symmetrical shape.