How to Draw An Outline Around A Shape in ArtRage
Learn how to draw a neat border around an area of paint!
While Stencils are usually the most effective for complicated shapes and hand drawn border effects, you can also use Selection tools and a few other tricks to get exactly the outline that you need. This guide covers several different methods for creating and editing a border, but you can mix and match them to suit your personal workflow and the needs of your specific picture.This guide assumes that you are using ArtRage 5, with all tools and features available, but any edition of ArtRage with layers will allow you to use some of these methods.
On This Page:
- Add a border round the entire canvas
- Add a border around an area of paint
- Draw Straight Lines By Hand
- Duplicate and Transform
- Stencils
- Selections
- Edit the appearance of the border
- Lock Transparency
- Fill Tool
- Stencils
- Selections
1. Adding a Border Around Your Painting
If you simply want to add a border as a frame around your work, or divide your canvas up into panels, then that is easy to do by using the Grids, Guides and other composition and straight line features.If you just want to add a bleed area for printing, simply expand your canvas size after you have finished painting. If you are on a mobile app and do not have access to the desktop version of ArtRage, create a single layer version of your image and use Transform to shrink it slightly inside the canvas.
2. Adding a Border Around an Area of Paint (Outlining A Shape On A Layer)
There are several ways to draw a neat border around a shape that you have painted in ArtRage. If you want to add a border around one area of paint on your canvas, then you can use stencils, transform, layers, and selection tools.
Draw Straight Lines by Hand
If you want to add a simple square border, or a few straight edges, around your shape, then this is very easy. You can plan out your border using Guides and Grids and use the ‘Snap to Grid’ feature to draw outlines. You can also manually position the Ruler stencil or use the Ctrl (/Cmd) or Ctrl + Shift command to draw perfectly straight lines anywhere on the canvas. See How To Draw Straight Lines for a complete explanation of the different options.
Duplicate and Transform
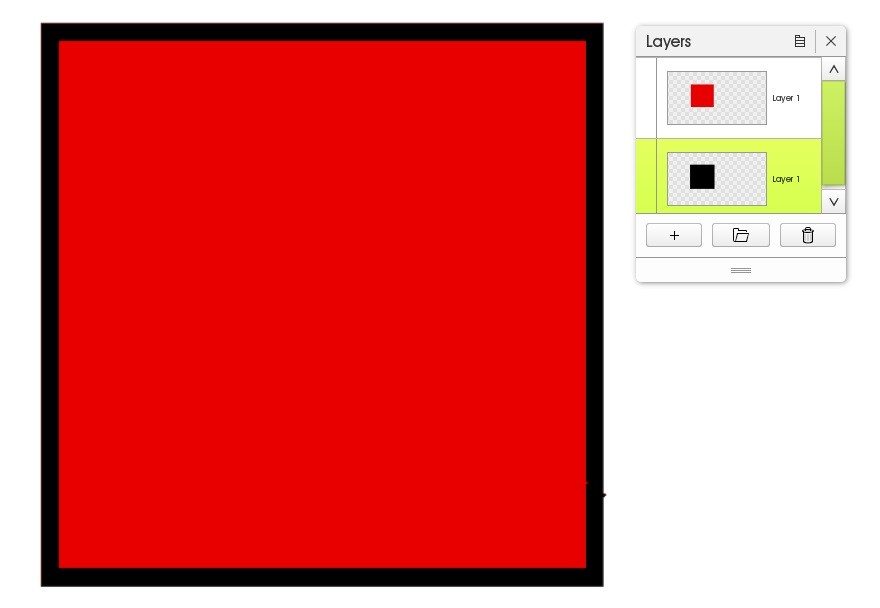
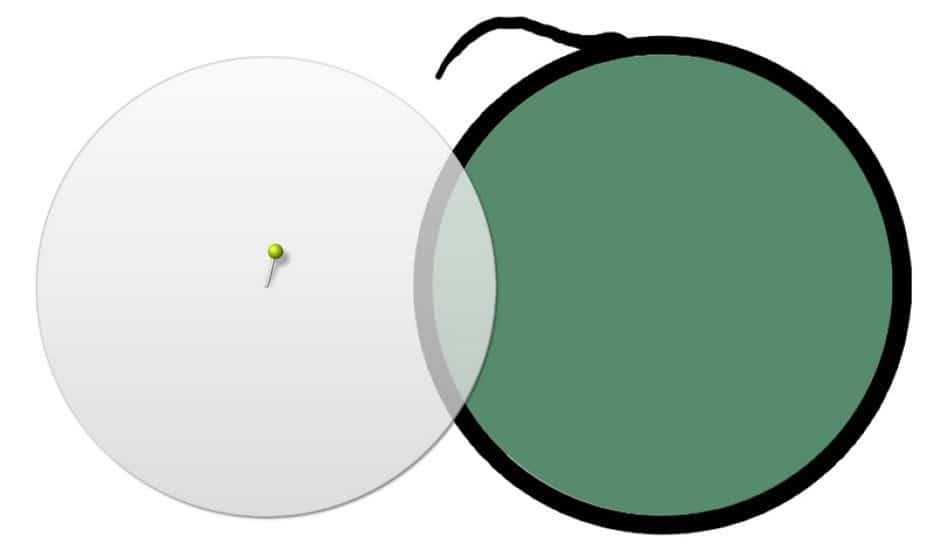
This is often the simplest method and can be used in almost any edition of ArtRage, even the mobile apps (both the full iPad and Android apps allow you to use multiple layers and transform a layer).If you have a very symmetrical shape (e.g. a circle or square), then the easiest way to create a border is simply to duplicate that shape on a new layer and use transform to expand or shrink it. You will then have two shapes, one slightly larger than the other.
Duplicate your image. Change the color of the border layer so that it is clearly visible.
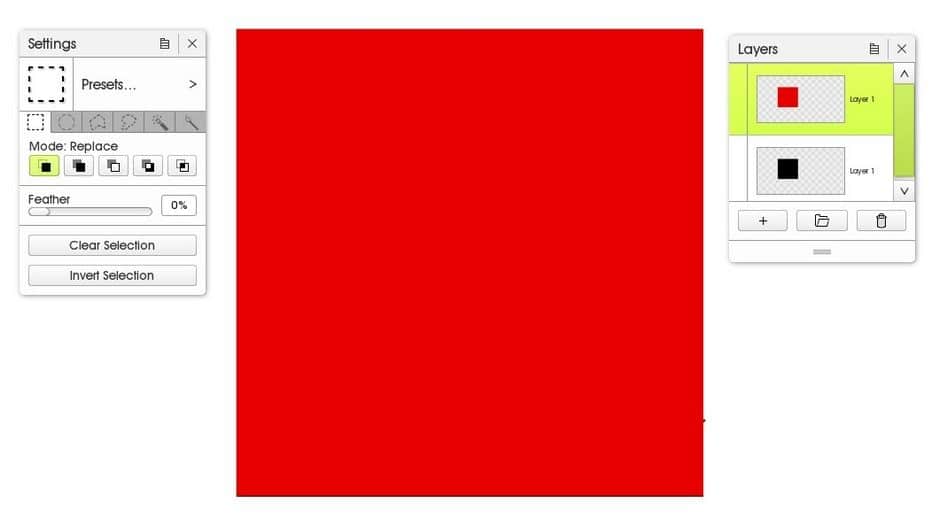
Ways to quickly change the color of a layer
You can quickly and easily edit the appearance of paint on a layer by using:- The Fill tool. One click and you’re done!
- The Selection tool to select the paint area and then repaint the selected area.
- Lock Transparency mode (in the Layers menu) which will let you repaint only the existing paint on a layer.
- ‘Adjust Layer Colors’ under Edit > Filters (Ctrl + J) which will let you quickly adjust the color and contrast of a layer.
Use the Transform tool to increase the size of the layer so that it create a visible border behind your original layer.
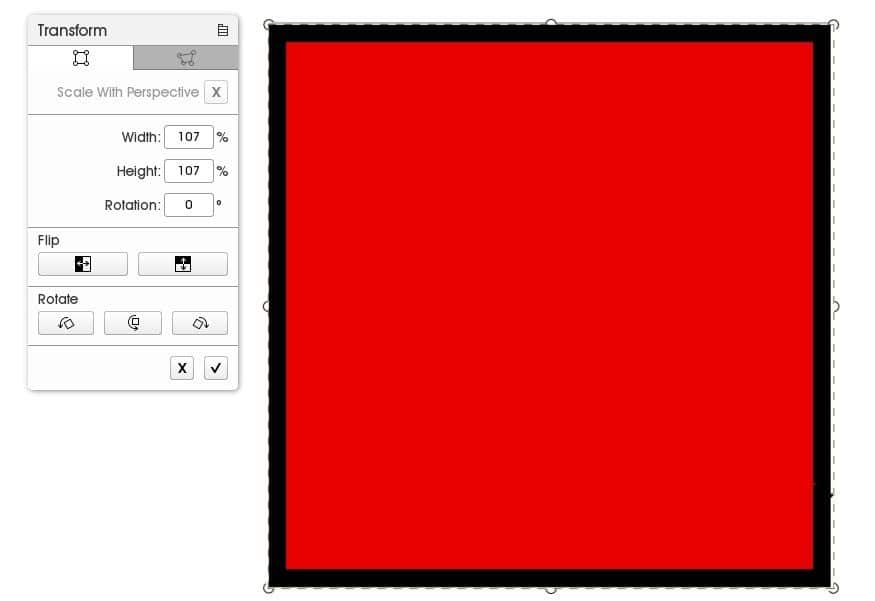
You then have a quick and easy border around your paint! You can merge the layers together, or keep editing the appearance of the border using some of the more advanced tips further down.
If you do not have a symmetrical shape, then you can still use this method, but the second shape will not scale perfectly around the first shape. You may have to adjust it further by hand, or use a Stencil instead.
Using Stencils to Create a Border
Stencils are often the easiest way to add a border, especially if you have a complicated shape. Stencils mask out areas of paint and can be transformed and saved. They are available in all desktop editions, but the Ruler mode is not available in ArtRage Lite.
Interacting with Stencils
-
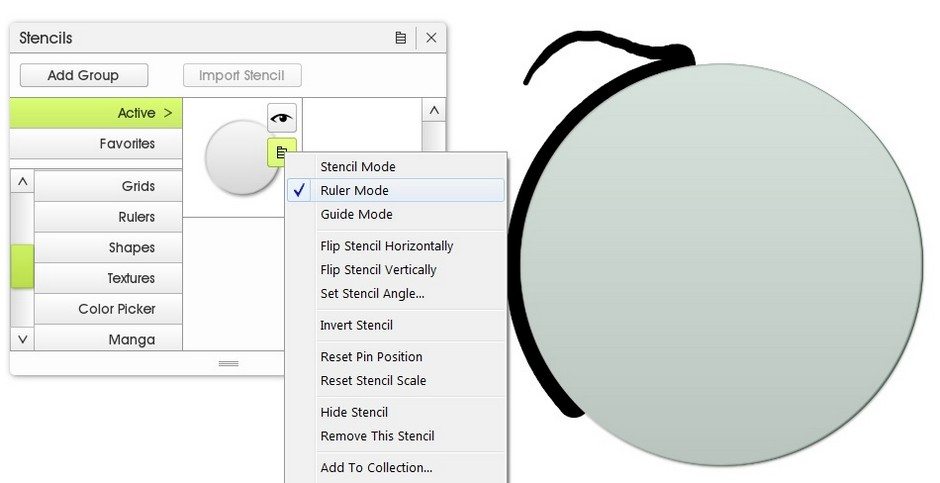
Most of the menu options for stencils are available by right clicking on the stencil or from the menu button next to the stencil in the ‘Active’ section of the Stencils panel.
Note: If you are using Mac OSX, you can right click by holding the Control key on your keyboard.
You can use the Transform tool to edit your stencil (move, flip, resize, rotate) or you can use keyboard shortcuts.
Move the stencil around by right clicking and dragging, or holding the Space Bar and clicking normally.
Resize: Ctrl (Cmd) + click and drag left or right
Rotate: Alt + click and drag left or right
Creating a Border With Stencils
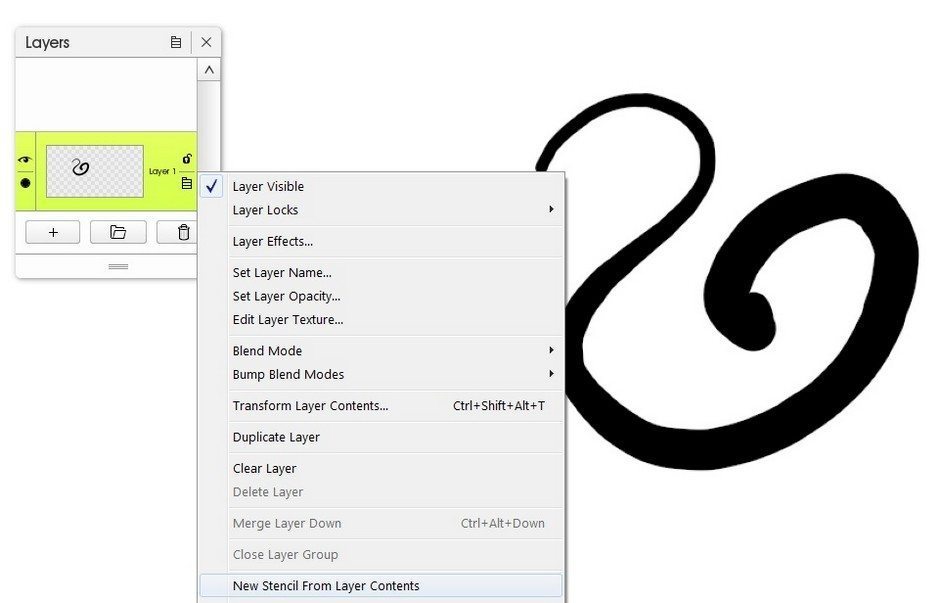
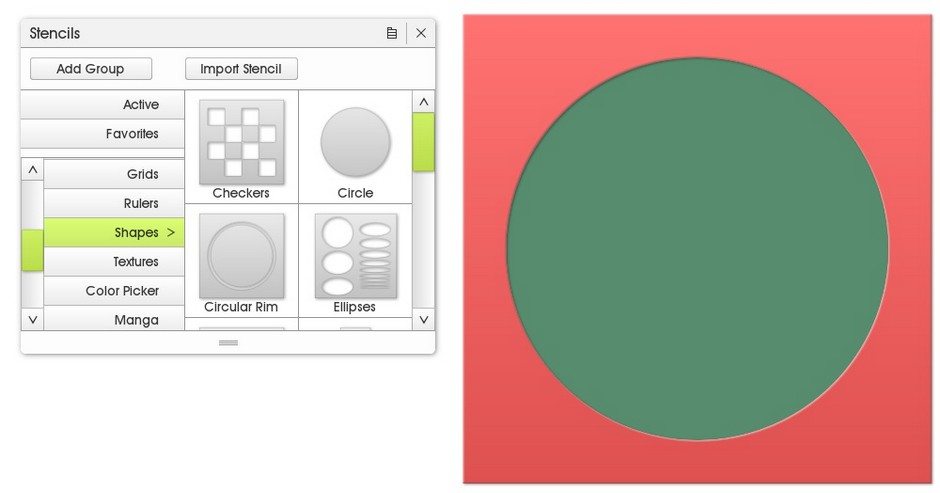
If you want to create a very simple shape such as a circle, then you can use existing stencils or the selection tool to define the area before adding paint. This also lets you jump ahead a little when it comes to creating a border! However, if you are painting a shape from scratch, it can be as simple or complicated as you like, and these steps will work.After you have created your shape, create a stencil out of it. To turn it into a stencil, go to the layers options to ‘Create Stencil From Layer Contents’, or export that image as a black and white shape and then open Stencils and import it as a new stencil.
Note: If your shape is not solid (it has semi-transparent areas), then the stencil will not be completely opaque and will allow you to paint into the translucent areas. As long as the edges are solid, then you can avoid the translucent areas.
You can add a new layer behind your paint to work on if you wish, or keep working on the same layer. It will be easier to edit the border later if it is on a different layer, but you may not need any extra steps. While it helps to know what you want before you actually add any paint, you can merge layers later, or select and move your border using the tips at the end if you need to move it to a different layer afterwards.
Position the stencil over your paint if you imported it (it will automatically appear exactly over your paint if you turned that layer into a stencil).
Now simply right click on it (or use the menu in the Active Stencils section of the Stencils panel) and choose ‘Invert Stencil’. This will block out the area you painted, and let you paint around it instead.
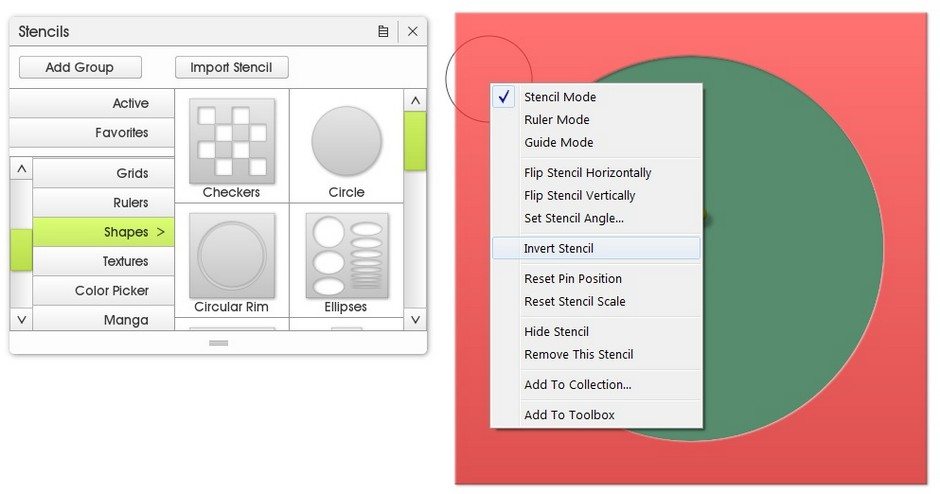
You can now paint a border around your stencil, but it may not be very neat! If you need a very even border, you need to set the Stencil to Ruler Mode. Right click on it again (or go back to the menu in the Stencils panel) and select ‘Ruler Mode’.
You can now draw neatly around the edge of the stencil. Your line will continue around the edge of the shape even when your cursor moves over the stencil itself. You can still paint freely on the canvas away from the stencil so try and only draw over the stencil if you need a perfect outline.
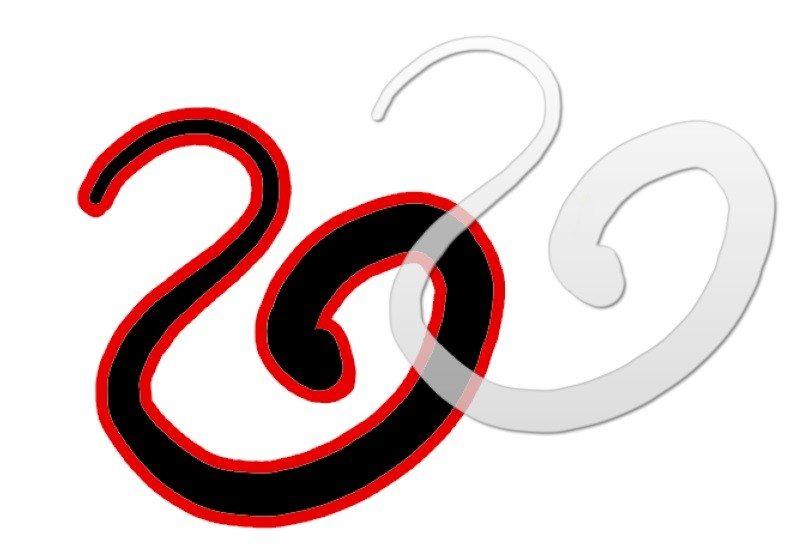
You can also use stencils with more complicated shapes!
Using the Selection Tool to Create Borders
Selections are a little more complicated and cannot be saved and reused like Stencils, but they are often very quick to use (especially with keyboard shortcuts) and let you edit your selection to get precisely the result you want.Stencils work for any shape, and are the best way to draw a neat outline around a complicated shape that isn’t symmetrical or doesn’t have straight edges.
Useful Keyboard Shortcuts:
Switch to the Selection tool: Shift + T
Invert active selection: Ctrl (Cmd) + Shift + I
Clear all active selections: Ctrl (Cmd) + D
Move active selection: Click and drag inside the active selection
Constrain selection aspect ratio (get a perfect square or circle): Hold Ctrl (Cmd) + Shift while drawing the selection.
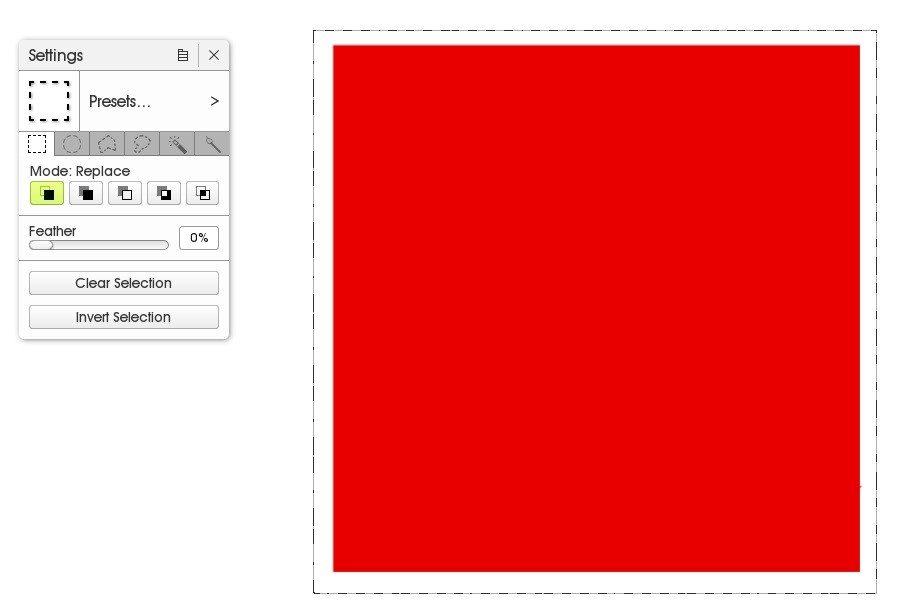
Create an outlined area of paint using selections by:
- Draw the active selection around your paint (where you want the border to go), using whichever selection shape works best.
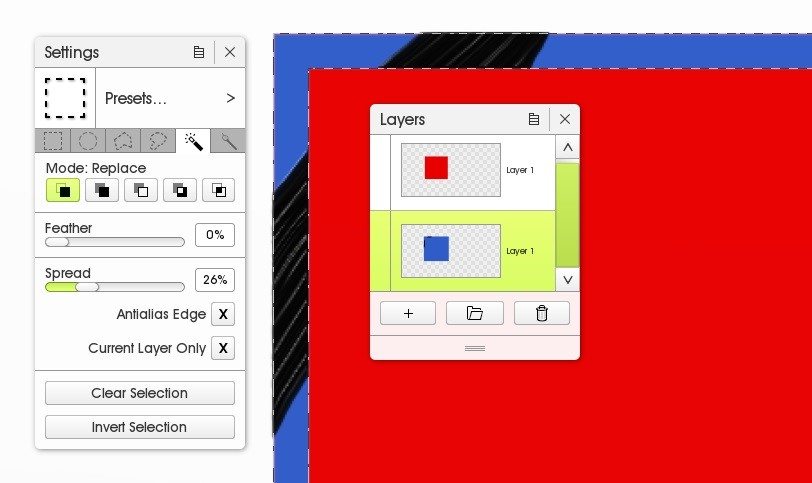
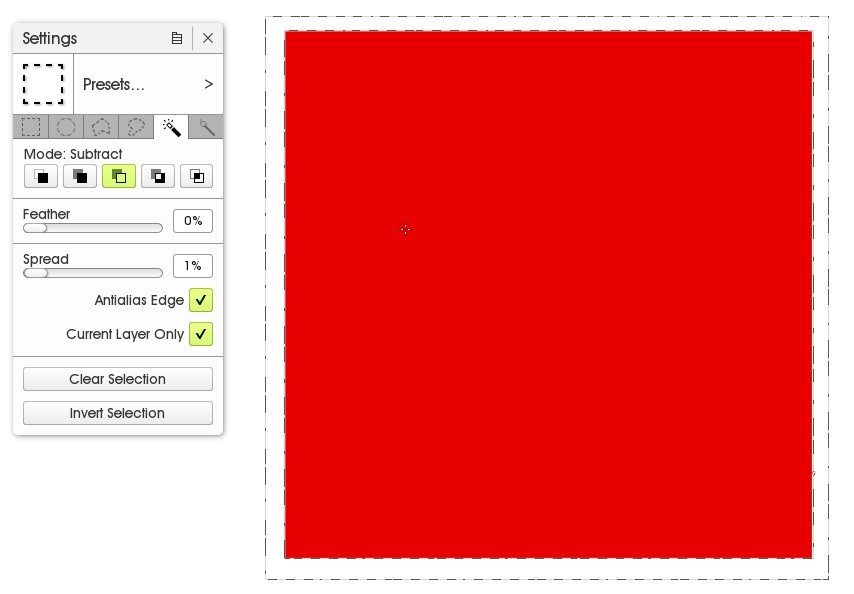
- Switch to Magic Wand and Subtraction mode in the tool settings (see screenshot: Magic Wand is in the tab along the top, Subtraction mode is the third button along in the little row of squares).
- Select the area inside the border. This will deselect that area (subtract it from the active selection) and leave you with an active selection on the border.
- Important: The ‘Magic Wand’ may leave unselected edges if there is any antialiasing (semi-transparent pixels to soften the edge). Adjust Spread upwards to cancel this out and select exactly the area you need.
Note: You can also do this the other way around by selecting the inside first and then drawing the outside edge using Difference mode. This will only leave an active selection in the areas that did not have an existing selection.
You can also combine stencils with selections by selecting around or inside the area masked by the stencil. For example, you can create a perfect square or circle around your existing square or circle, and drag the selection into the correct position. You can also switch to ‘Paint Area’ mode and draw a line around the edge of your stencil in Ruler or Guide mode. This will create an active selection that is exactly the shape of the outline (note: it will overlap inside the stencil – like painting with a stencil in Guide mode, but it will be an even stroke).
3. Editing Your Border
You can edit and repaint your border using stencils and selections to mask or select the border area. You can also lock the transparent areas so that you can freely repaint the border. Most of these methods use the same techniques that you used to create the border, but for more ways to edit an area of paint, see this guide: How To Edit Paint Color.
Lock Transparency
If your border is on its own layer, go to the layers menu and use the lock options to ‘Lock Transparency’. This will lock all the transparent areas on that layer so that you can repaint the existing paint as much as you like. This is often a great deal simpler than trying to create the perfect selection or stencil.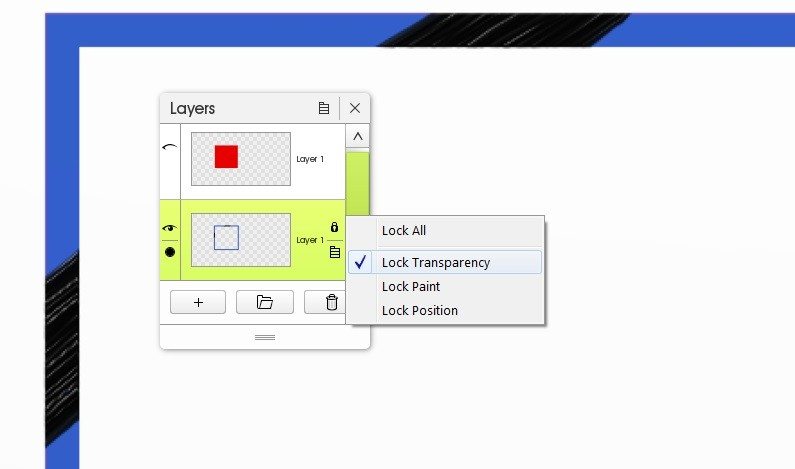
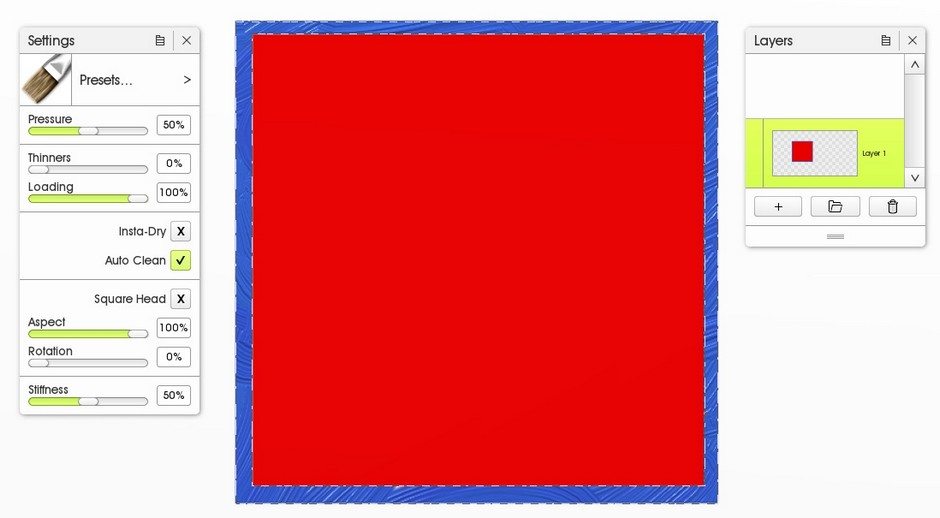
Color your border with the Fill Tool
You can simply use the Fill tool to flood your border with a new color. See the guide to the Solid Fill settings for help getting the perfect result.If you want to add a pattern or gradient, you will need to create an active selection or use stencils to mask the rest of the layer. Read the Pattern Fill guide for examples of how this works.
Moving the border to a separate layer
If you painted the outline on the same layer as the rest of the paint and want to edit it separately, you can do this in two ways.- Duplicate the layer. Use the original stencil (the one you drew around to create the border) to mask the paint while you erase the border on one layer, then invert it on the other layer. This will mask the border and leave the inside exposed, so you can erase that and leave the border on its own on a new layer.
- Set the selection tool to ‘Magic Wand’ mode and select the border. Cut and paste it to a new layer.
- If you want to get really complicated (or your border is a mix of colors and difficult to select), you can mask the area outside of the border with stencils and then switch the selection tool on ‘Paint Area’ mode. This will follow the edge of the stencil in Ruler and Guide mode, but stencils do not prevent selections, so the selected area will extend under the edge of the stencil.
Tip: If you are having trouble selecting your border area because it is not an even color, create a template layer that is a single solid color. Use this to create stencil and selection shapes, then hide it and switch back to your main layer to create the border.
Editing with Stencils
If you have stencils masking the inside and outside of the border, then you can easily repaint the border itself. If your original paint and border are on the same layer, keep the first stencil (that you drew around) and add a new stencil from the current layer contents. The new stencil will frame the outside of the border, and the original stencil will mask the inside.If your border is on a separate layer, then just turn the border into a new stencil and invert the stencil.
Editing with Selections
Use the Magic Wand mode for the selection tool to select the area of the border. If your border extends behind other paint (for example, if you moved a duplicate layer behind your original paint), untick ‘Current Layer Only’ to select based on all visible paint, not just the paint on one layer.