Adding New Sticker Sheets
You can add custom sticker sheets to use as individual stickers or as a sticker spray. To customise the sticker spray and create a new preset, see Sticker Spray Variation.
Importing a Sticker Sheet
At the top of the Stickers Panel is an Import button. This button allows you to locate an ArtRage sticker sheet file and select it for import. When you select the sheet it is copied to the correct folder for the current sticker group visible in the panel.
You cannot import a sticker sheet that has the same name as a sheet already in the category. If you try to do so you will be asked to rename the sheet and try again.
Once the sheet has been imported it should be visible in the list of sheets for the current category and can be selected from the picker or used in the Sticker Spray.
Creating a Sticker Sheet
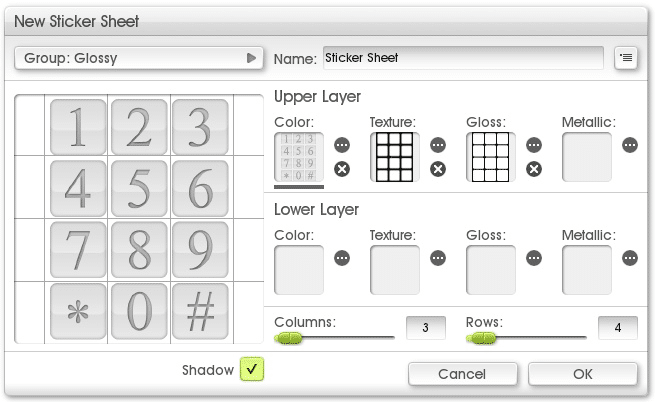
To create a new sticker sheet click the New button in the Stickers Panel. When you click this button the New Sticker Sheet Panel appears. There are three main control sections:
- At the top of the panel you can select the group to put the sticker sheet in and the name to use for it. The Menu Button allows you to create a new group and import an existing sticker sheet to edit if you wish.
- On the left of the panel is a preview of the current component of the sticker sheet you are working on.
- On the right is a series of slots that can be filled with images. Each slot represents a property of the sticker on a back or front layer. Each slot can be clicked to load an image (or the ‘…’ button can be clicked), and when an image is loaded the ‘x’ button can be clicked to remove it.
- At the bottom is a pair of sliders that allow you to indicate how many columns and rows of stickers you are importing in your image.
Stickers are constructed from two layers each containing optional color,
texture, gloss, and metallic images. The contents of the Upper Layer sit on top
of the contents of the Lower Layer, but by creating combinations of images
you can create complex multilayer effects such as stickers that have texture
underneath a smooth glossy dome, giving your stickers internal highlights as
they are moved around on the Canvas.
To Create The Sheet:
- Prepare your images (see below).
- Click each of the slots on the right and load in the image that will be used
for its property.
- You can click a slot that already has something in it to see it previewed on the left.
- Select how many columns and rows are in your sheet.
- Select a group and name for the sticker sheet.
- Click OK.
When you click OK the name of your sheet is checked. If you are attempting
to overwrite an existing sheet you will be warned and allowed to continue or
cancel and choose a new name. If the sheet you are attempting to overwrite is
one of the sheets installed with ArtRage you will be asked to choose a new
name, you cannot overwrite those sheets.
Sticker Sheet Images
Images are used to tell the stickers what color they are, what texture they have, how glossy they are and how metallic their color is. You can prepare one or more of these images for your sticker sheet.
The panel that creates sticker sheets constructs them by importing items from a grid. When you create your images, make sure they are all the same size and that the areas of interest inside them are laid out identically in a grid.
Color Image
The most important image for most sticker sheets is the Color Image. Without a Color Image the sticker will just be a texture on the Canvas.
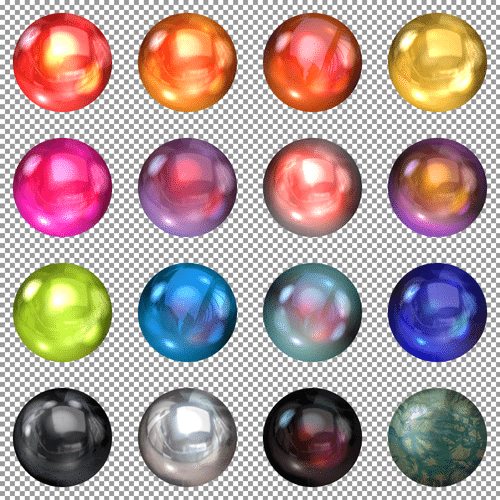
The Color Image supports 32-bit color, that is to say full color with a transparency map. Any type of image can be used as the Color Image but only types that support transparency, such as PNG, can give ArtRage this additional information.
If you do not use a Color Image that has transparency, your stickers will be square. If you want them to take on the shape of the item you are creating (such as the baubles in this example) make sure they have a transparent background. The checkerboard in the example above indicates transparency.
If you have a Color Image on the Upper and Lower Layers of the sticker the Lower Layer will be covered by any non transparent area of the Upper Layer.
Texture Image
The Texture Image gives a textured surface to the sticker. Without it the sticker is just a flat piece of paper on the surface of your Canvas.
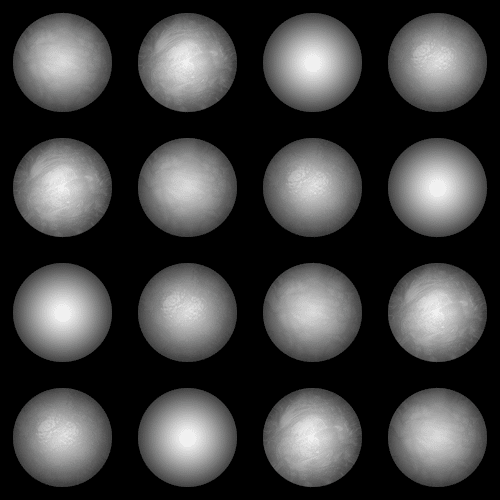
The Texture Image is a greyscale height map in which the brighter areas indicate the higher points of the texture.
To create a Texture Image it is usually wise to take the shape of the items you have placed in your Color Image and create your texture based on those.
If the Color Image has transparency, there will be no sticker substance where the image is completely transparent and your texture will not show through.
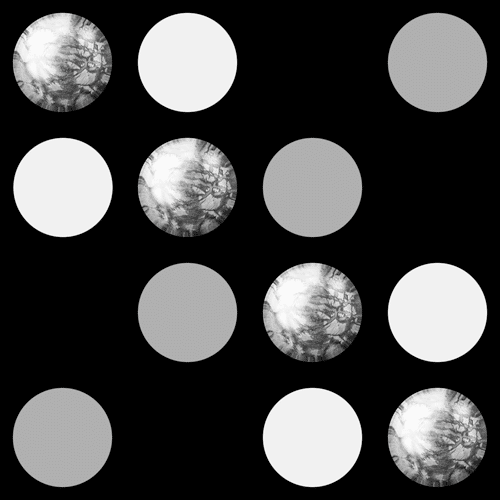
Here, we have created a height map for the baubles that will create a curve over the surface of sphere, note how the height map goes from dark at the edges to light in the center. Also note how the position of the detail in the Texture Images matches identically the position of the detail in the Color Image.
Gloss Image
The Gloss Image defines which parts of the surface of the sticker are shiny. Generally, shiny parts will only be visible where there is texture that changes the angle of the surface so that light reflects.
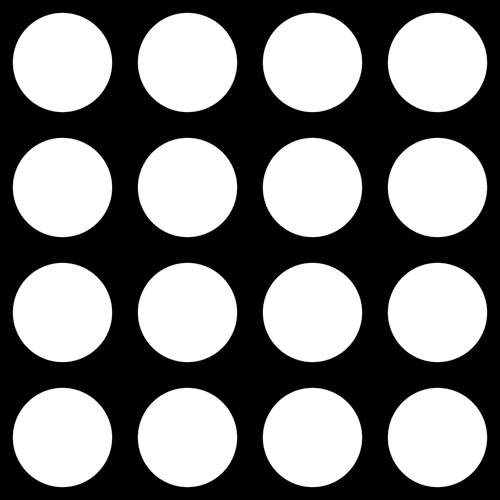
The Gloss Image is a greyscale image that follows the same requirements as the Texture Image. Lighter areas are more glossy, darker areas are more matte.
Metallic Image
The Metallic Image defines which parts of the surface have metallic reflection. Metallic reflection changes the color of the surface where light reflects from it so the easiest way to see it is to have texture as well as your Metallic Image.
The Metallic Image is a greyscale image that follows the same requirements as the Texture Image. Lighter areas are more metallic, darker areas are more plastic.
Sticker Spray Tutorials
Sticker Sprays 1: Creating A Custom Sticker