Learn to Create An Underground Landscape With A Science Fiction Twist
Follow along with professional illustrator Steve Goad as he creates a unique landscape full of environmental detail, interesting perspective, and interesting textures in ArtRage 5.
Steve Goad is one of our featured artists and painted some of the official artwork for ArtRage 5 (you may recognise his work from the startup screen in the program). We invited him to send in something more recent than his last feature with us and he created a fantastic tutorial exploring his creation process in ArtRage 5. You can visit his website at stevegoadart.com and view more of his work in his official artist feature.
Introduction
I have been working with ArtRage since the first release, it’s one of those programs I feel even though it’s very successful it’s still one of those hidden gems waiting to be discovered by the masses.
So naturally I’m happy to be given the chance to show the power of the program wrapped in a tutorial package. This tutorial is just a breakdown of my process; it is what flows naturally and works well with me. The real reward is discovering your own flow, style and process.
Tools
This tutorial uses several painting tools in ArtRage 5, including the Custom Brush, Airbrush, Ink Pen, Sticker Spray, Palette Knife, Paint Roller and the Oil Brush. It also uses layer blend modes, stencils, references, and canvas texture. It is recommended for users who are familiar with ArtRage or are interested in the artistic process of creating an atmospheric image but do not need specific steps for using layers or adjusting tool settings.
The dark interface and layout are found under View > Interface Mode in ArtRage 5 (‘Docking Mode’ and ‘Lights Out’).
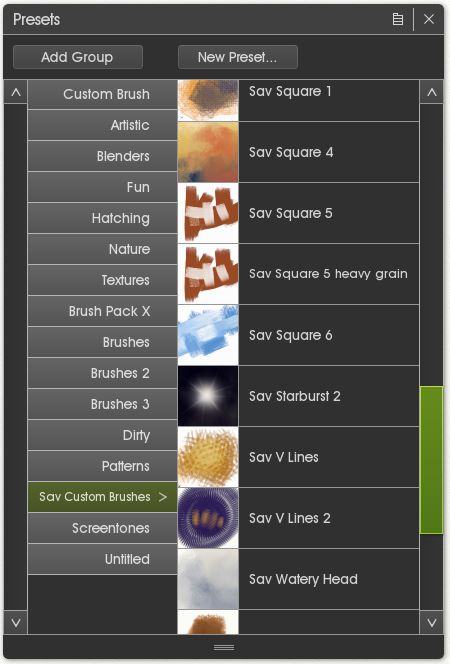
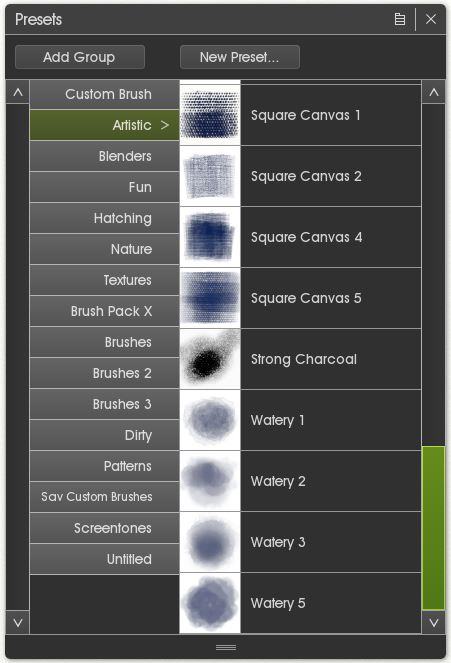
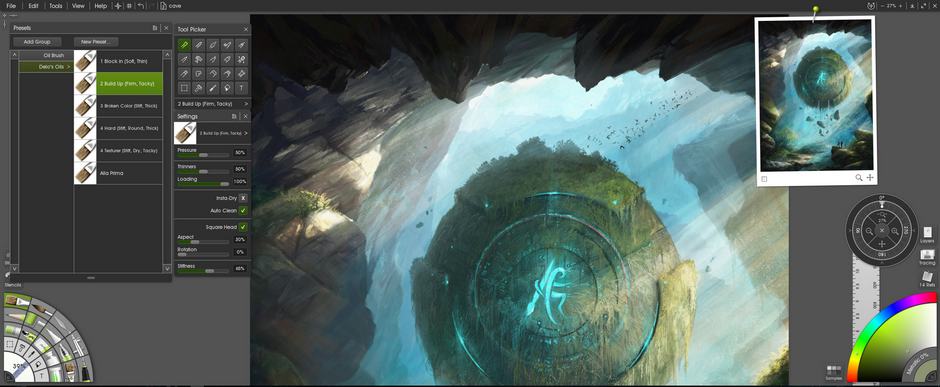
A variety of custom and default tool presets where used for this tutorial. Presets downloaded from other artists include Delofasht’s Oil Brush Presets and Boxy’s Custom Brush Presets (many of these are now official default brushes in the program, but additional textures and brushes can be purchased directly from his site).
The canvas size for this image is 5400 x 7200 pixels.

Getting Started
Planning and References
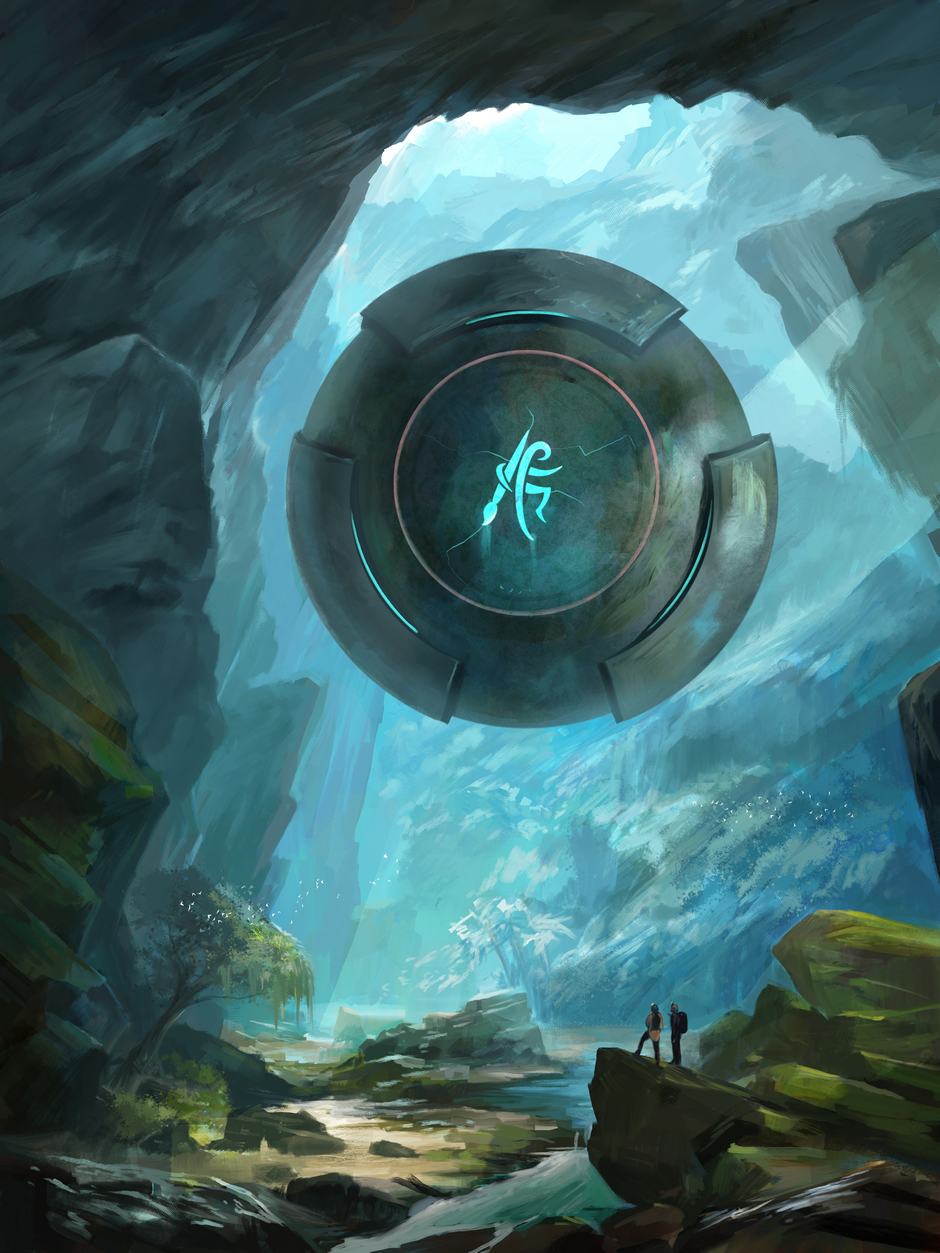
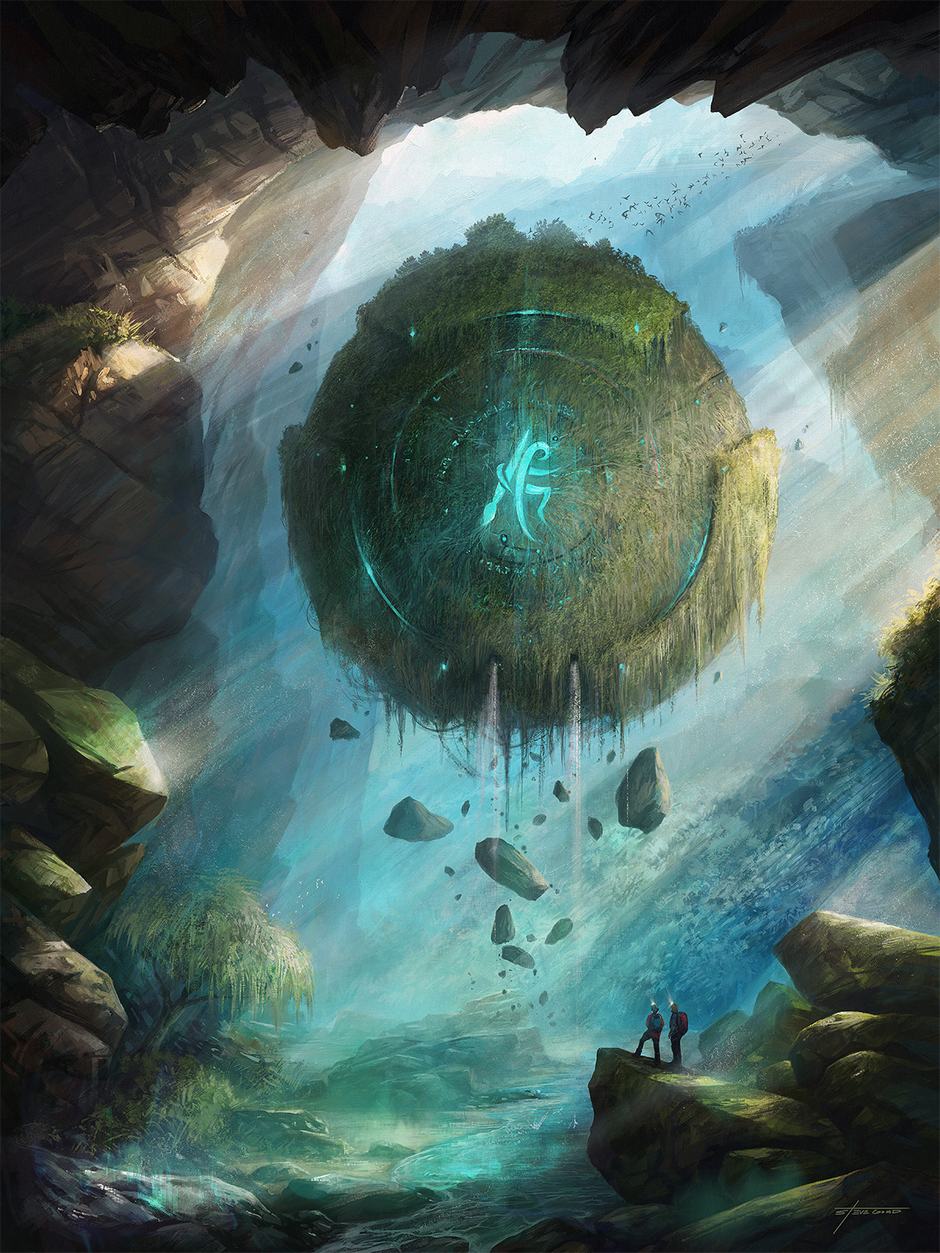
Before I begin any piece the first thing I like to do is just think of a simple concept, I wanted to make this particular painting a symbolic one. Something that hints about ArtRage being a hidden gem and the idea was simple, an ancient relic hovering in a cave discovered by explorers.
Once I have the concept down I’ll start looking on Google Images for things such as explorers, caves and water in caves. What I’m looking for is a particular color palette and some ideas.
Block in the Background
When I find the color palette I like I’ll block in basic shapes. The tool I like to use for this part is the paint roller; it’s great for covering large areas while offering some color blending to establish some values. I also like to use the eye dropper to pull from any color from the reference images to the current canvas.
Adding the Subject & Foreground Detail
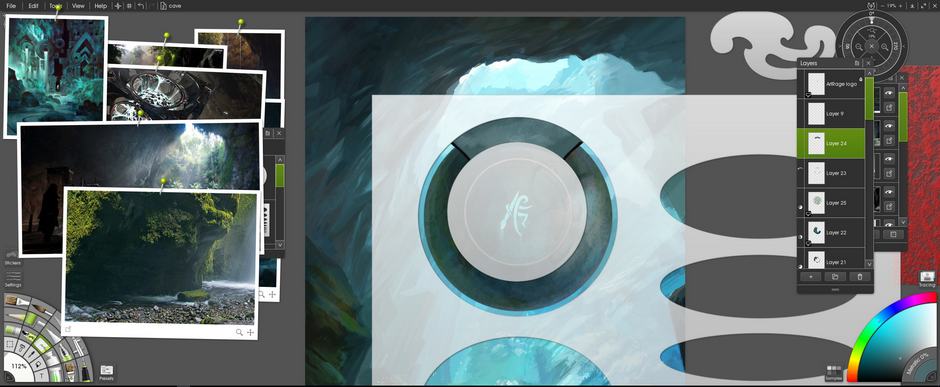
Using Stencils to Draw the Sphere
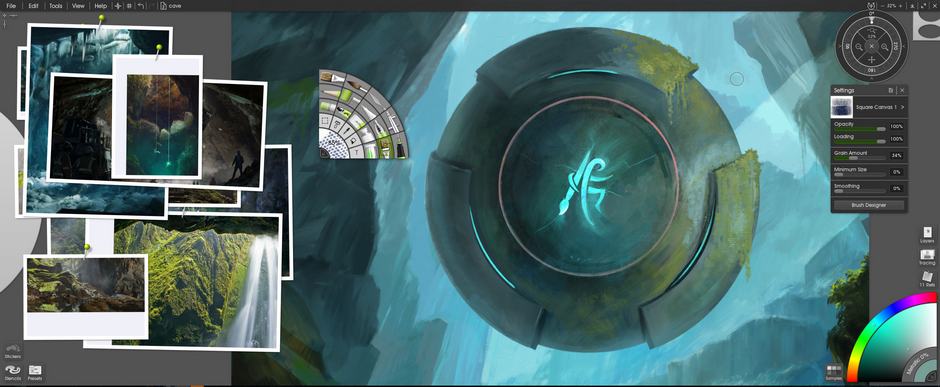
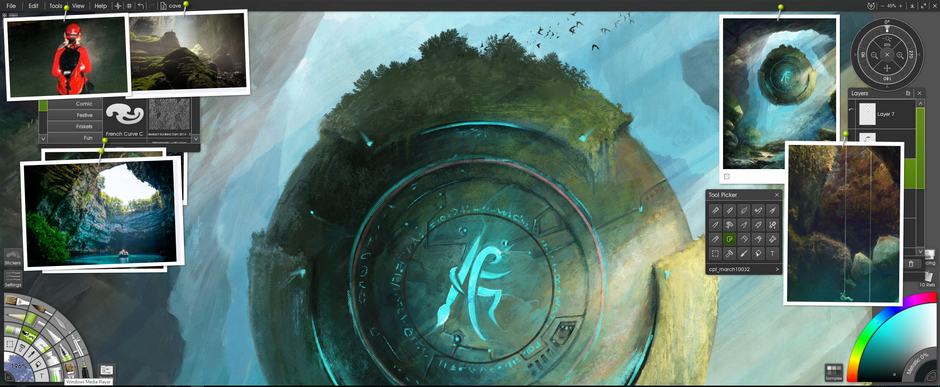
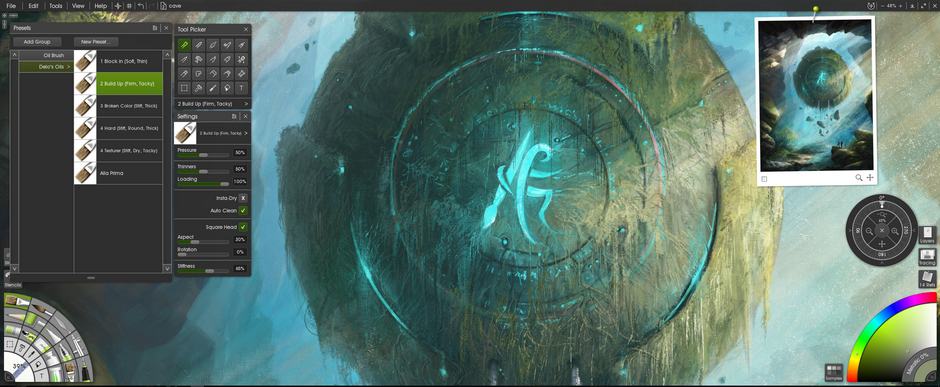
I use a basic circle under the “stencils” to create the sphere; I also placed it on its own layer so I can focus on detailing the background. I tend to leave the stencil active to stay within the lines; it allows me to use large oversized brushes to paint quickly. Another way that will work is to lay down a solid color, then lock that current layer’s opacity. I’m not too worried about detailing so I’m still sticking with the paint roller.

Here I created another inverted simple circle; it makes it easier to create additional details around the sphere. To save some time I just create the details on a separate layer and then duplicate that layer so I don’t have to paint any additional details multiple times.
Adding Detail
All of the main elements are now in place, from the background to the main subject of the image – the floating sphere and the tiny explorers.
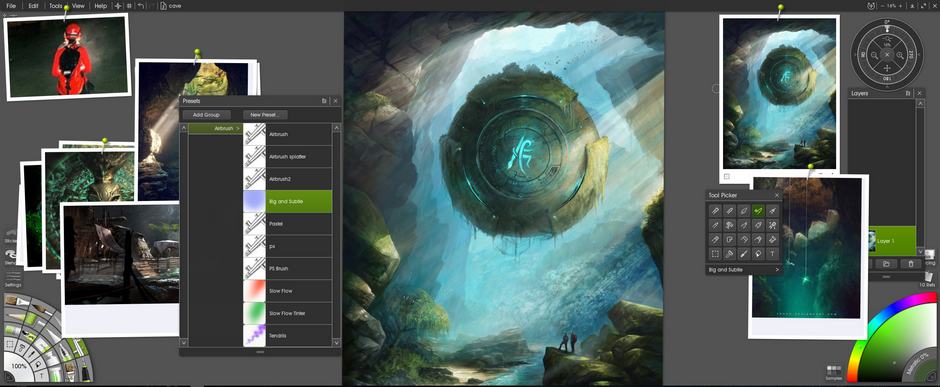
This is where I start to add in details using the Custom Brushes. In keeping with the traditional look, I choose brushes with any canvas textures. I’ll work with a very limited brush selection at this point. I tend to find the square chalky brushes work really well in this stage. It allows me to just focus on the artwork and not the brushes so much.
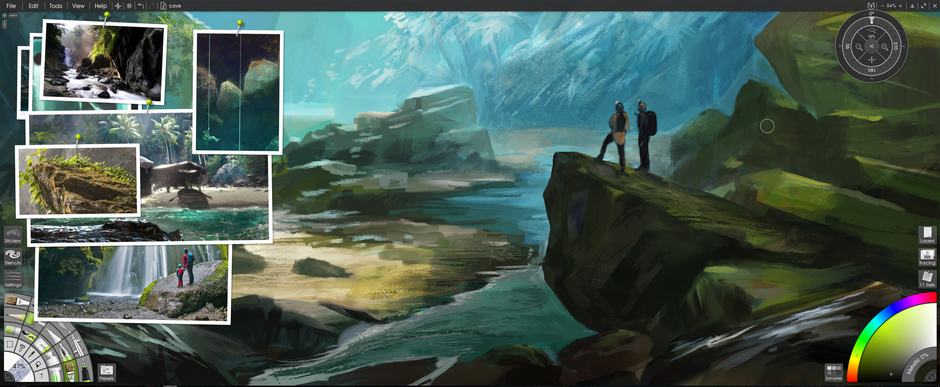
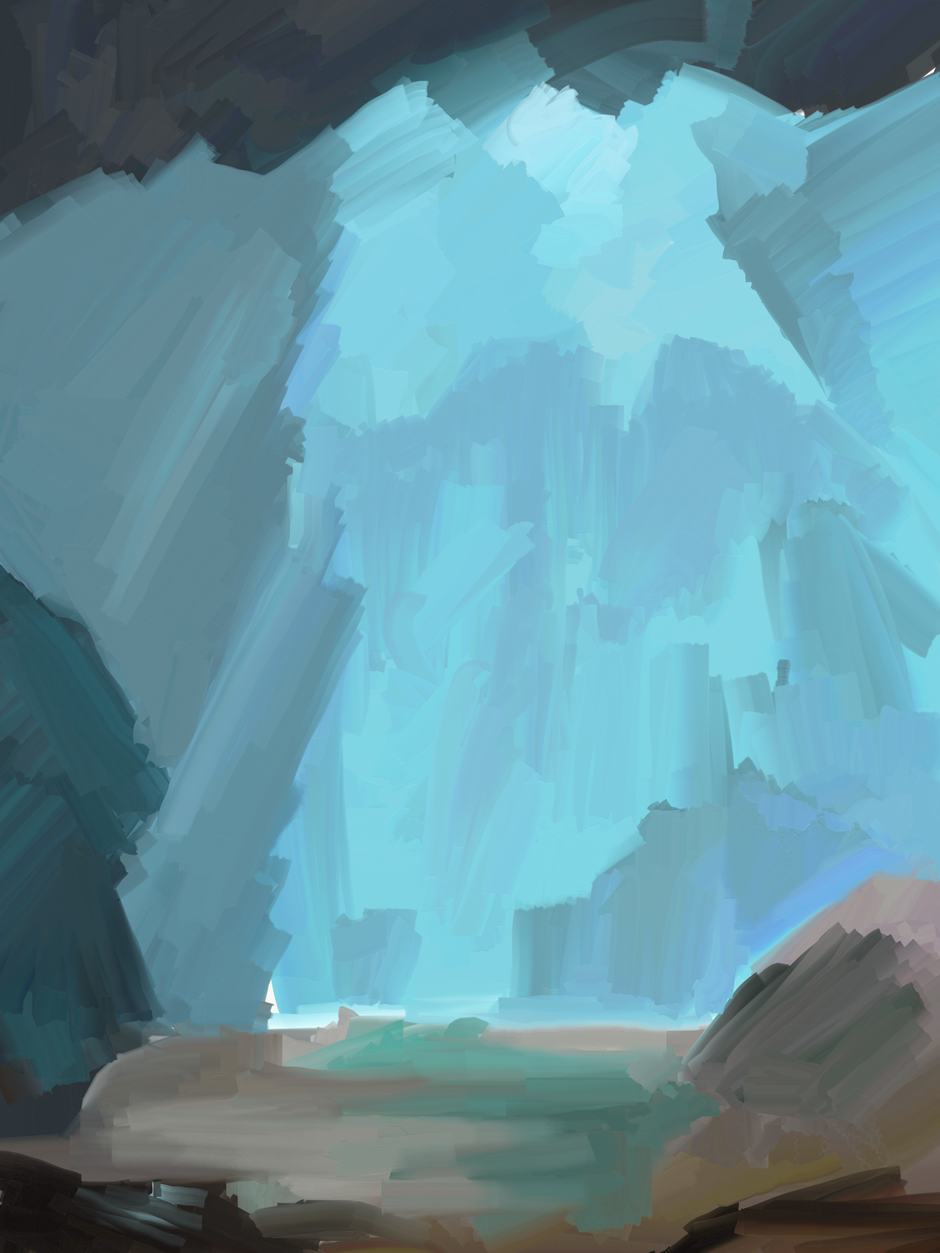
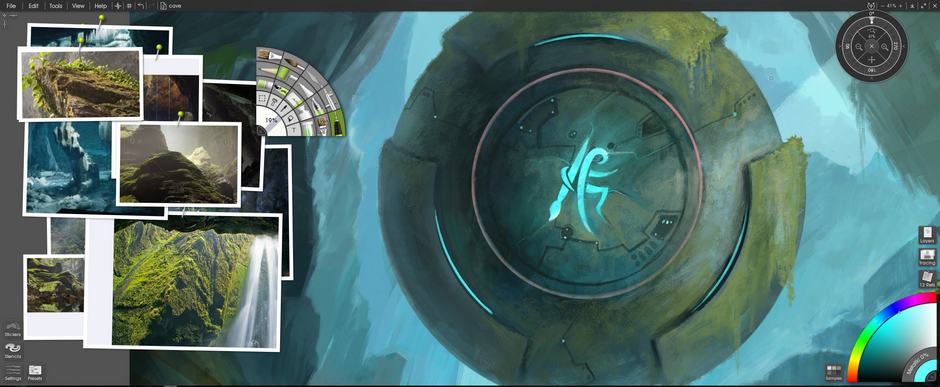
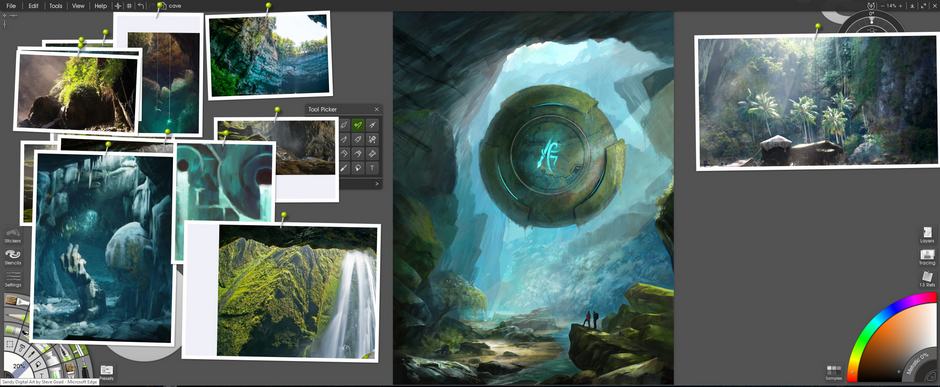
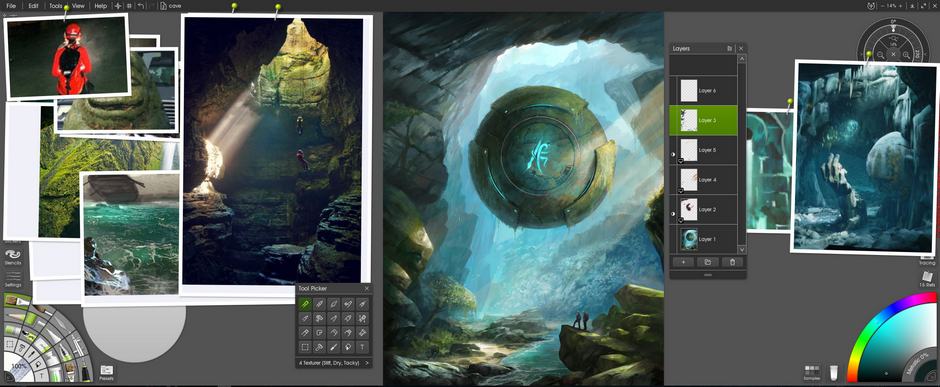
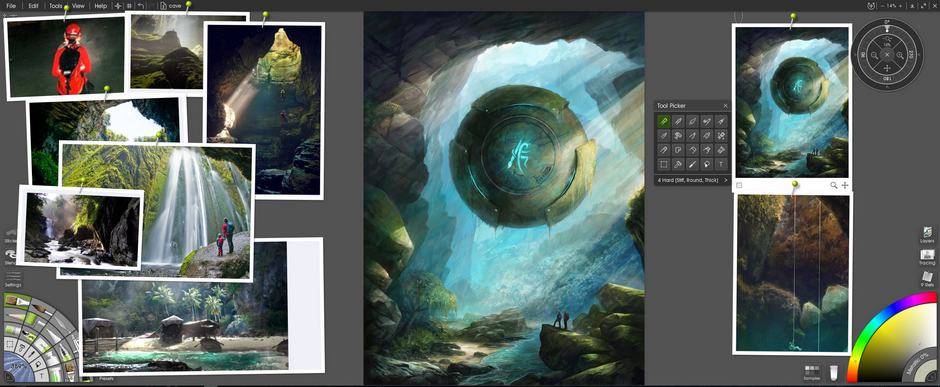
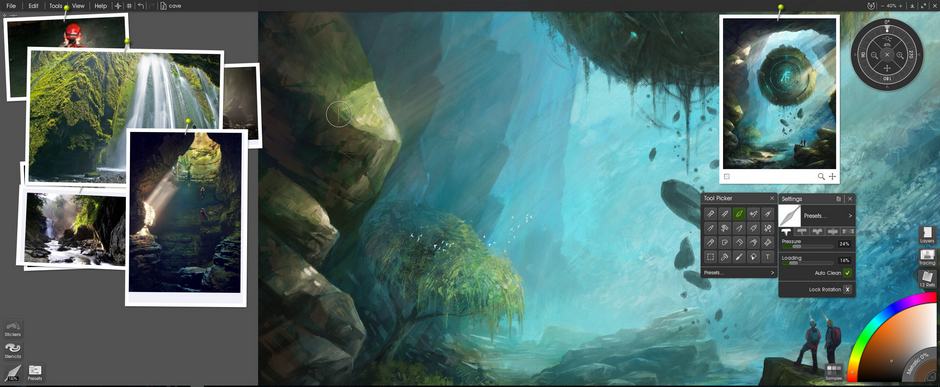
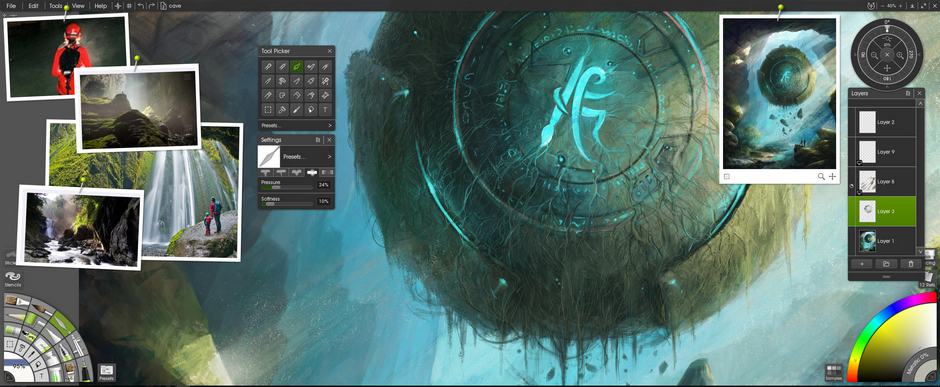
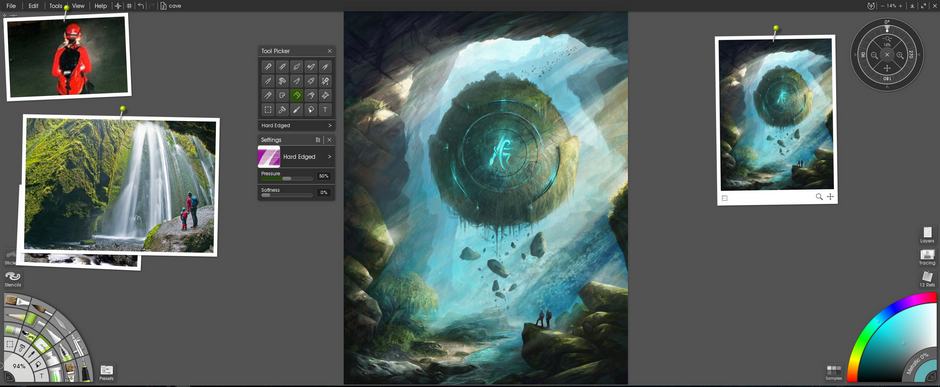
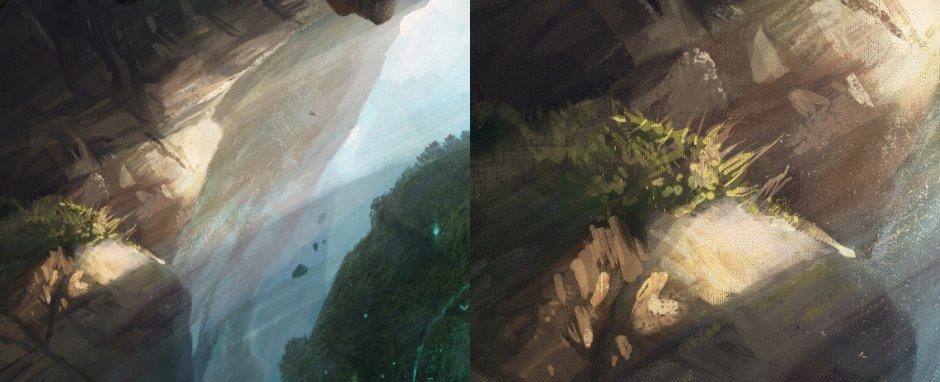
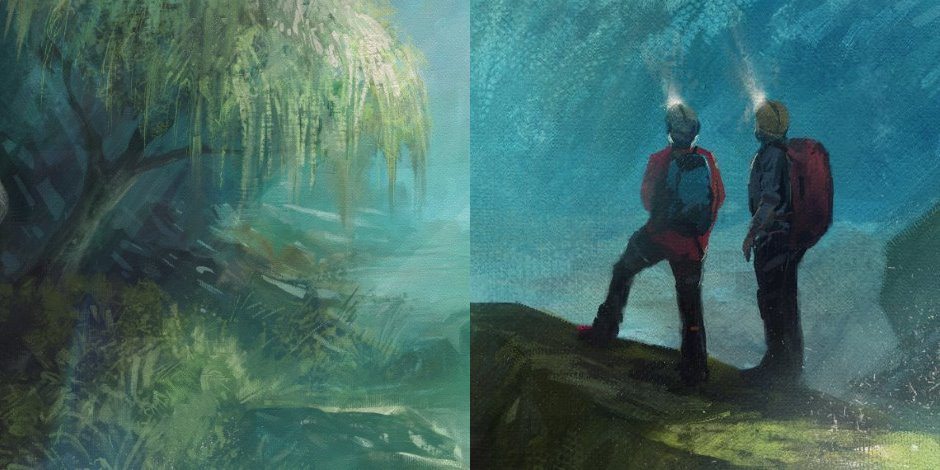
Below you can see the progress as I build up background detail on the water and cave, and add hanging moss and plantlife to the metal orb, using reference images of plants, water, and cave lighting. The references are all pinned to one side, with a floating tool picker right in the middle of the screen (if you ‘tear off’ the tool picker in Classic Mode, you can also use it in Docking Mode in ArtRage 5).
Finetuning
Adjusting Color
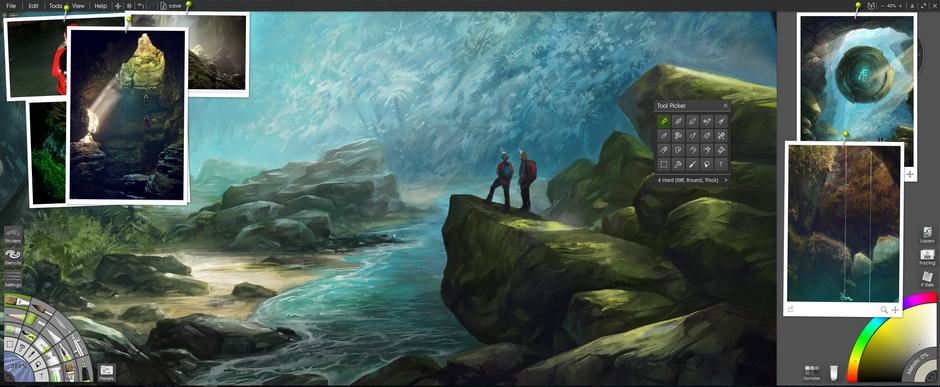
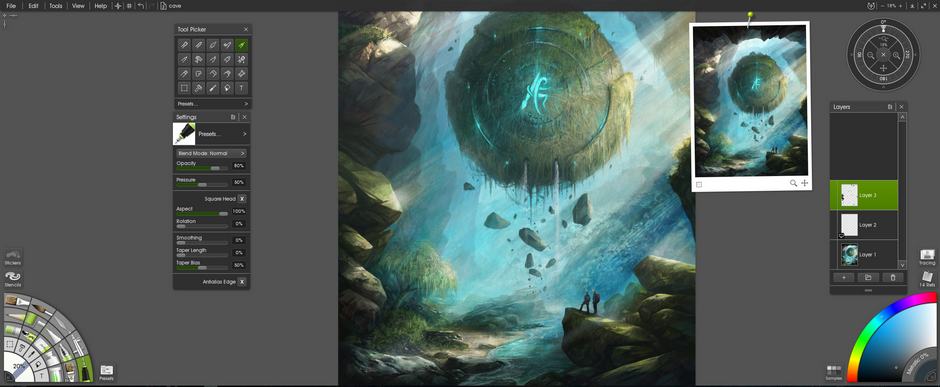
When I have a solid direction of the painting I start merging all layers, creating new ones and adjusting the blend mode to soft light. I also adjust the opacity of the layer to lightly add color and highlights like what you see on the rock the explorers are standing on.

I’ll repeat the process of adding soft light layers and layers with low opacity to further enhance the mood.
Detailing
This is where I start to focus more on the brush detail; I tend to pick brushes with textures and blend effects.
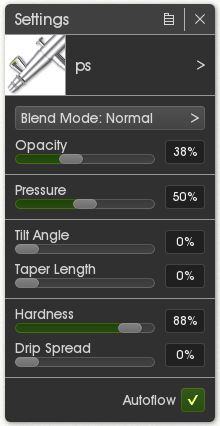
For the hard edge I’ll use a custom oil and airbrushes, here are examples of the brushes I’m using:
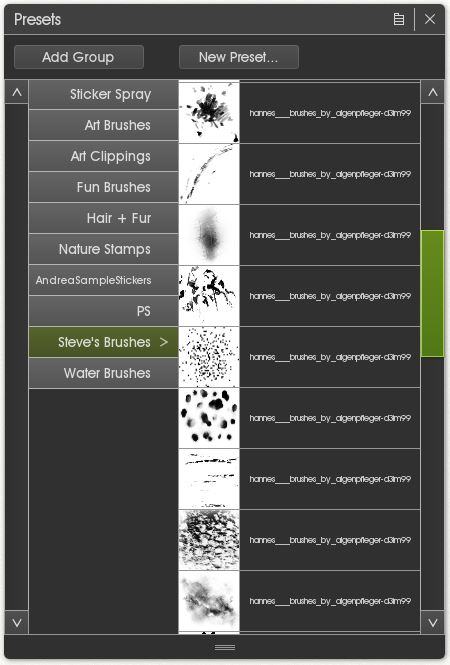
The preset sticker tools I use are Photoshop brushes that I imported.
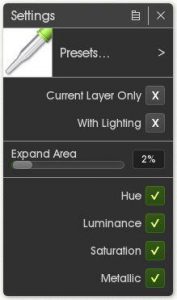
I also start to use the eyedropper (Color Picker) tool to pull colors from the reference images and continue to use low opacity layers with blend modes. I tend to pull colors from my painting while I work so here’s a tip for the eyedropper tool, when you’re using canvas textures and lighting you’ll want to adjust your eyedropper to these settings to only pull the color and not any canvas effects.
I continue to use custom sticker spray tools to create vegetation and custom brushes to blend. I’ll also use the airbrush tool to create atmosphere in the lighting.
For detailing parts of the rocks I find adding a new layer, lowering the opacity and using the loaded palette knife works well.
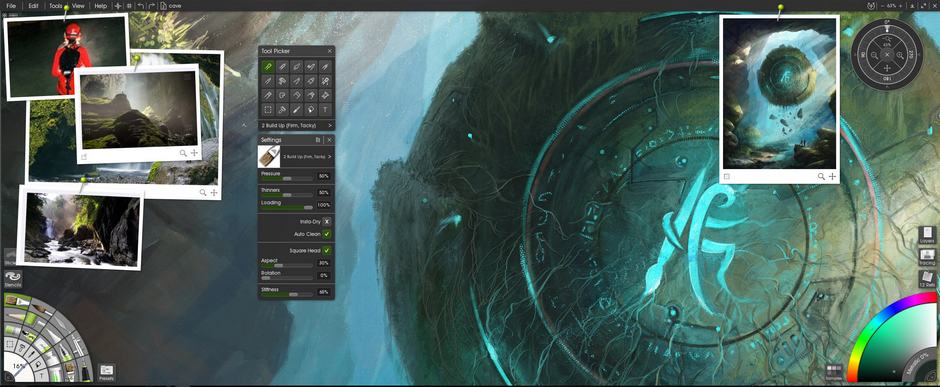
The custom oil brushes from Delofasht work really well to create sharp and smooth or even rough and textured details. I’ll also use the palette knife to soften the edges where needed.

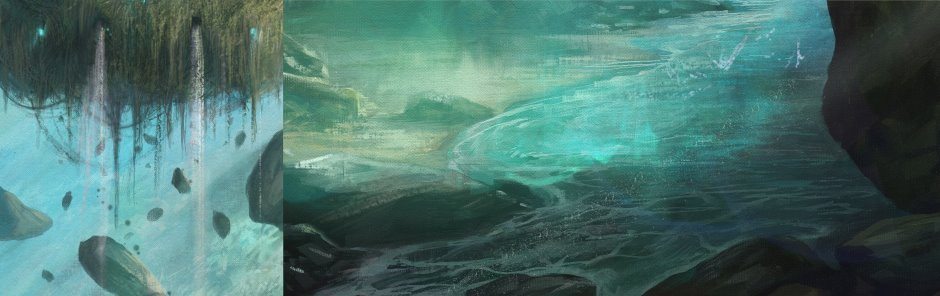
I like to add things as I go so I’ll lay down a layer of thick paint and then use the eraser to form certain shapes. Just like the floating rocks you see under the sphere. It’s also the technique I used to form the additional rock detail up top. The same way I made the lights brighter on the sphere, I ended up throwing down a multiply layer and painting over the entire sphere then used a soft eraser to remove the paint around the lights.
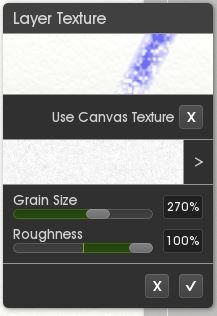
If you create a new layer and then edit the layer texture it will add additional textures with each brush stroke. Increase the grain size and roughness for full effect.
This is where I start to refine things, once again I’ll merge all layers and add new strokes on a separate layer. I’ll use the ink pen with low opacity for this; the low opacity creates a buildup effect that allows me to work from a soft stroke to a hard edge. It’s what I used to add the additional detail on the left side along the cave walls.
Towards the end of the piece is where I’ll add very light textures from photos, I try not to do this too often because I personally like doing things by hand and keeping the flow on the traditional side instead of photo manipulation. Sometimes you can do an entire piece by hand and then do an overlay of a very light texture to really make it pop.
I like to add textures like this on a very low opacity; just enough to complement your brushstrokes without it looking like a photo. I set the opacity between 25-30%, and change the blend mode to overlay.
Finishing Up
For finalizing I’ll pan through the entire artwork and clean up any areas that look out of place, with digital I’ll leave rough looking areas on purpose. I want my digital pieces to look traditional and not hyper detailed, it’s just a preference of mine.
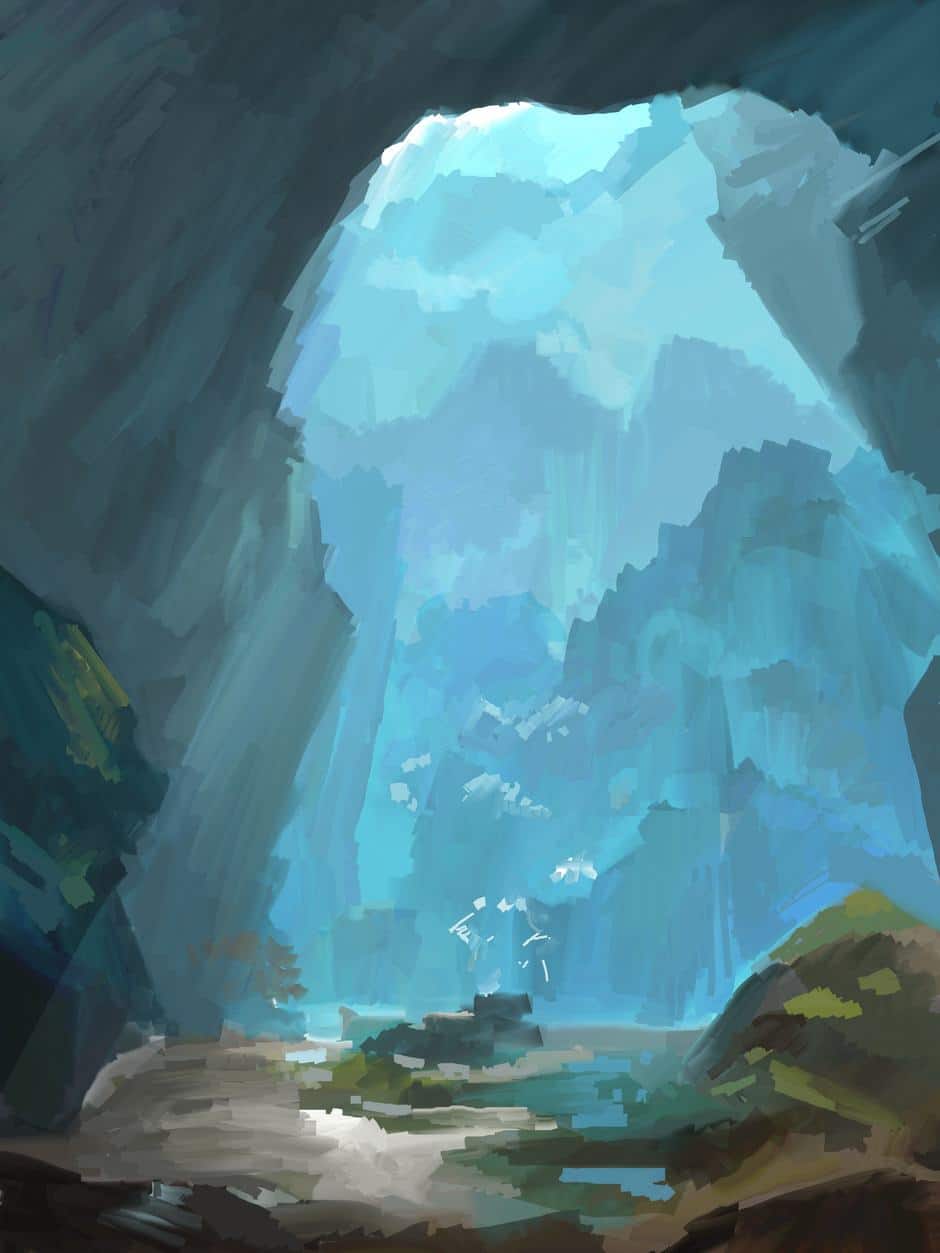
Often I will merge all layers one last time and do overlay or soft light layers to top off some of the mood effects. Just like the additional mist and color you see here in the final piece.
I appreciate you taking the time to look and read through all of this and I want to thank Ambient Design for allowing me the opportunity to showcase their product. I tried to keep things down to a minimum but I hope I was clear enough in describing my process. It’s great to learn from one another but in the end, the true goal is finding what works well for you. Some like a very clean and structured process; others favor a free and loose flow. Discovering those processes that go with the grain is half the adventure, honing our skills is the other. Always remember that everyone is truly unique in regards to the way they perceive, learn, communicate and express themselves. Don’t try and be like another artist, learn from that artist and be the one that is within you.
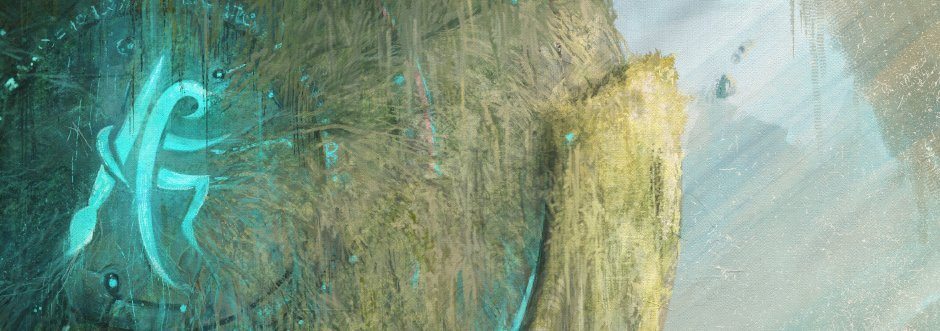
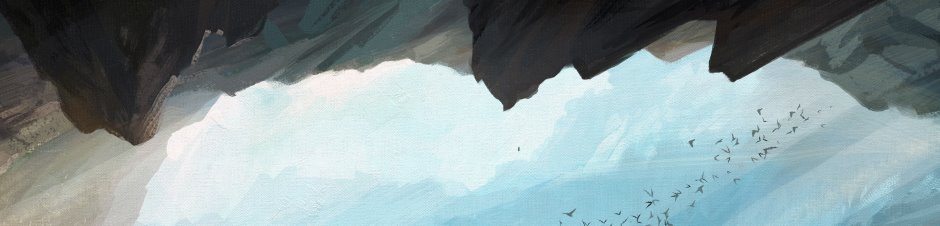
Close Ups
Steve Goad’s Art
no images were found
Learn more about his process and see more fantastic art in his official artist feature.
Artist Feature: Steve Goad (epic fan art / landscapes)