Step by Step Coloring A Cat With Pastels in ArtRage 5
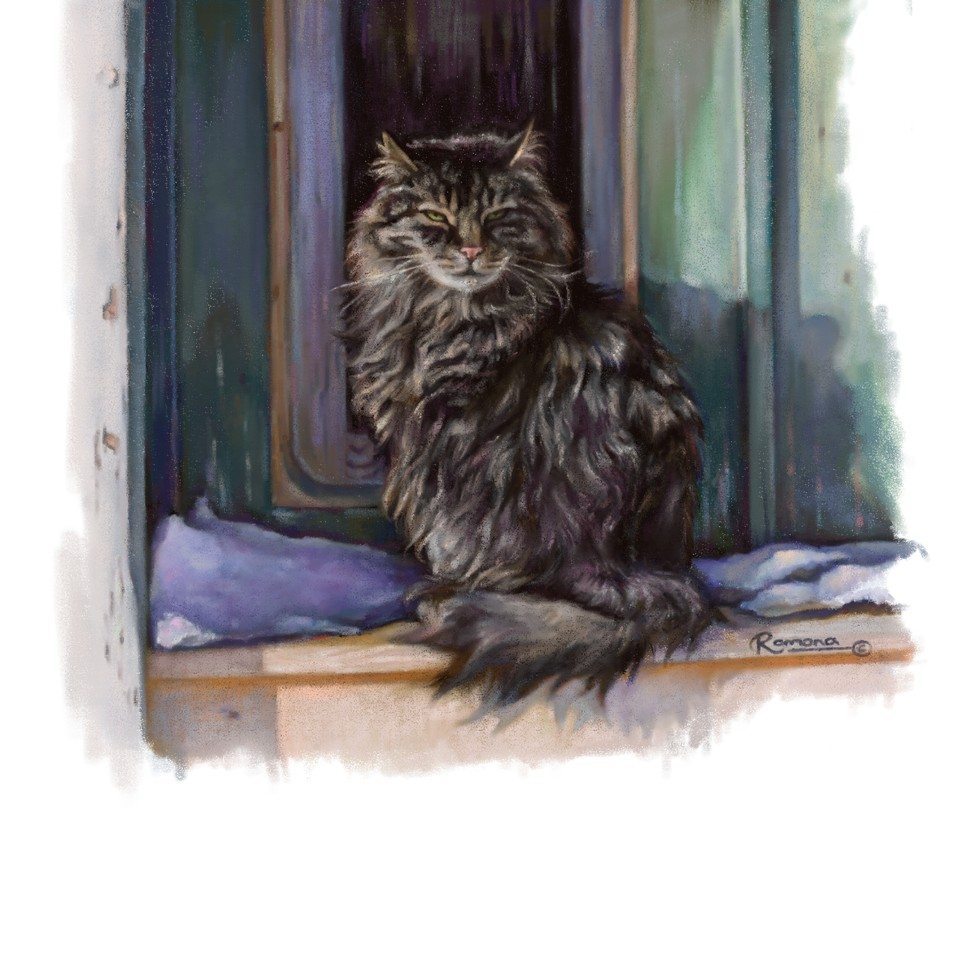
The artwork in this tutorial was created by Ramona MacDonald in ArtRage 5, using the Pastel tool. You can see more of Ramona’s art at ramonamacdonald.myportfolio.com. She is also one of our featured artists.
Artwork by Ramona MacDonald, text by ArtRage staff. This tutorial uses ArtRage 5, but you can find the pastels and the palette knife in almost all editions of ArtRage. ArtRage 5 isn’t out yet, but it’s coming very soon! Learn more about it here: ArtRage 5
Pastels are a subtle tool that require you to build up multiple layers of wax, blending colors together into a solid block of pigment that hides the paper beneath. You need to work on a single layer and go over every bit of the paper several times to smooth everything out, add interesting colors, and refine the details, leaving the smallest, sharpest lines until the very end.
Step By Step Images
Click through the images below to study the gradual process of blocking out, blending, and detailing with pastels in ArtRage.
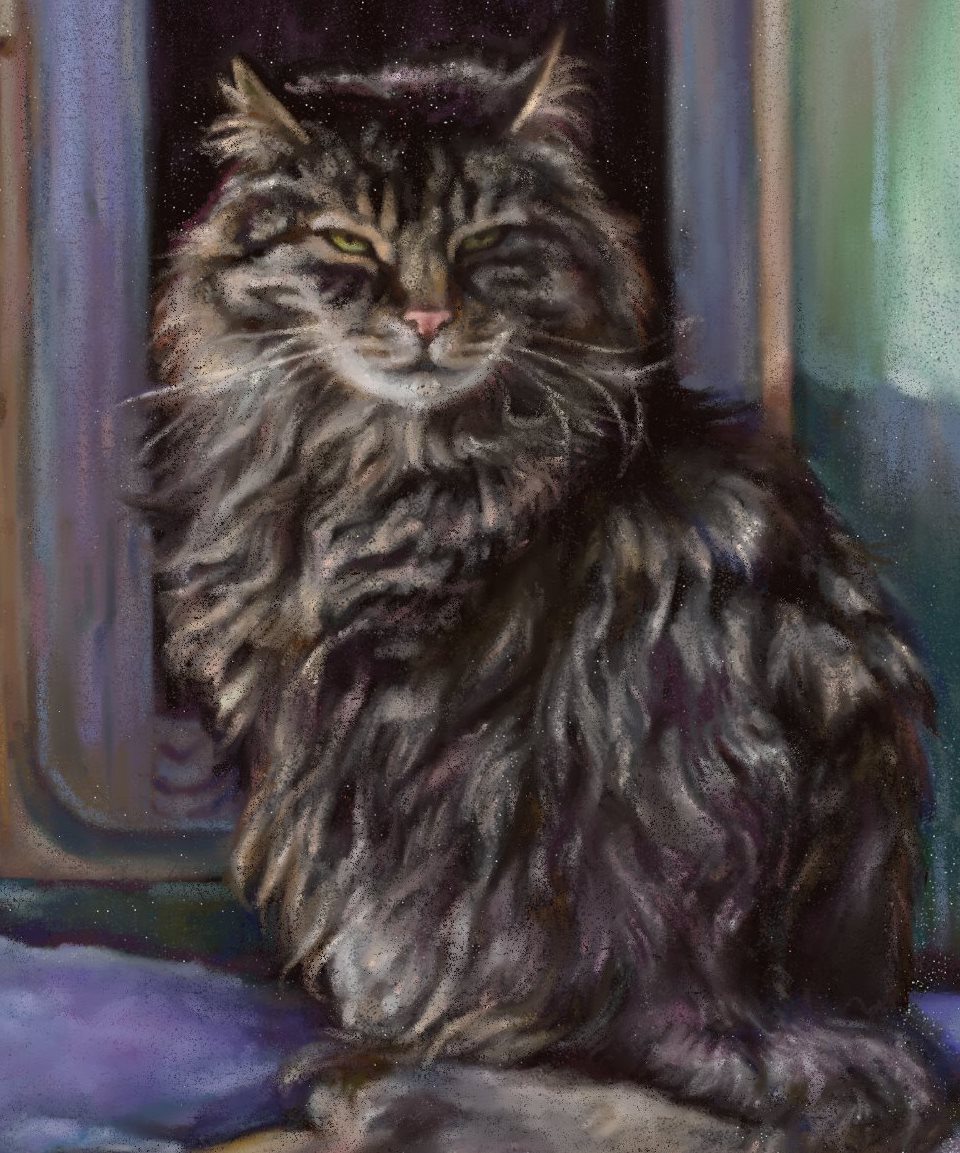
[justified_image_grid ng_gallery=32]Close Up
This is the actual size of the picture. Here you can see the details and texture properly.
Interface, Tips & Resources
Setting Up Your Workspace
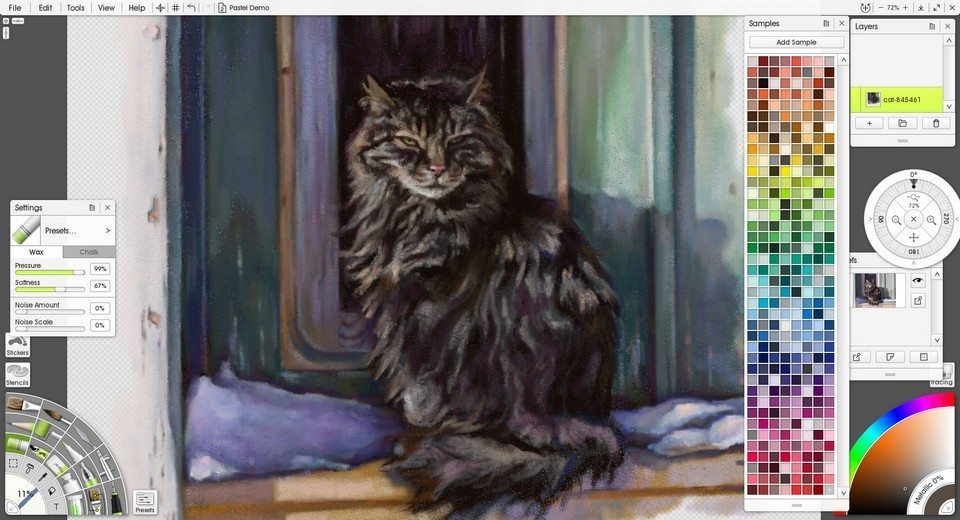
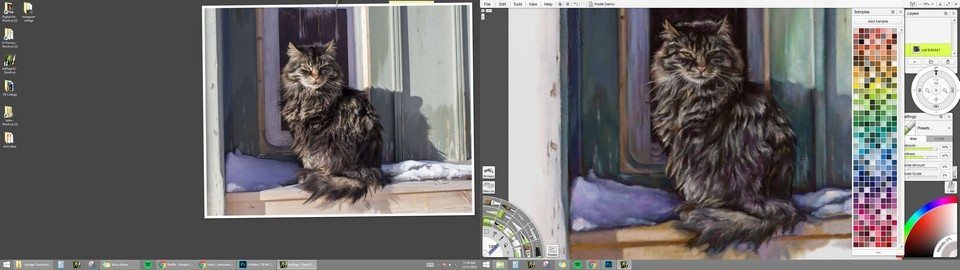
This is the Classic Mode (the default view) for ArtRage 5. You can customize your workspace to your liking, and if you are only using one tool (Pastels), you can hide the tool picker entirely (click the inside corner, or go to View > Classic Mode > Tool Picker). On the right and left of the screen you can see the different active pods for the current tool settings, a custom color samples collection, the canvas positioner, and the layers menu.
Layers
Pastels are designed to blend smoothly together, so you will usually want to work on a single layer for the entire image.
Tool Settings
The artist used 100% Pressure, 67% Softness for her pastels. You can adjust this as you work, depending on the effect you want and the steadiness of your hand. For blending, a flat palette knife (100% Pressure, 0% Loading), is good for smoothing the wax together.
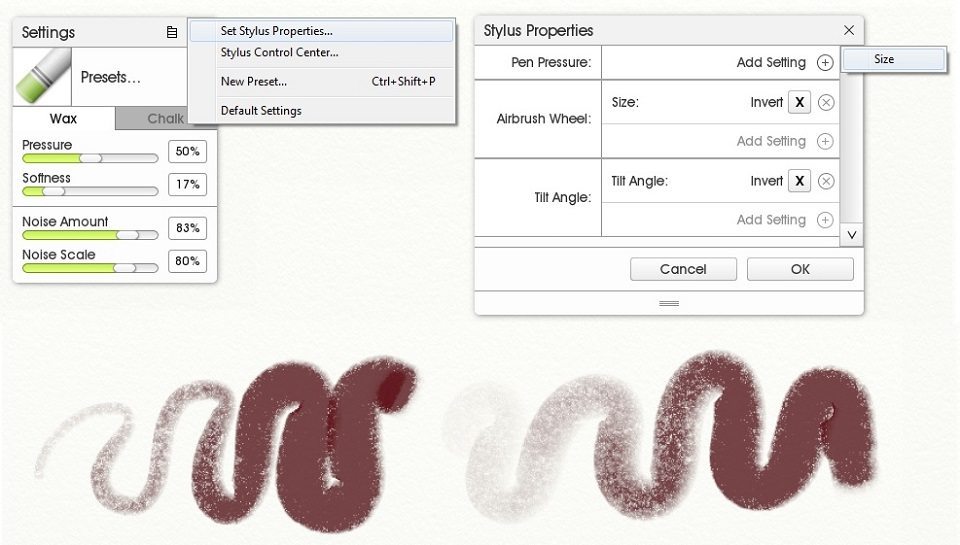
Pressure is how hard you are pressing, so it affects how much pigment goes onto the page with each stroke. Softness affects the wax itself and how it blends. Soft pastel will mix smoothly, hard ‘crayon’ will not.
Noise is a new addition in ArtRage 5 and disperses the pigment to add a more realistic grainy effect. Turn it off for more solid color, or turn it up for lighter, more controlled blending and better realism. If you don’t like working with a paper texture and want a smooth canvas, Noise will let you add the ‘grainy’ effect back in. If you are already working with a textured background (as in this tutorial), you may prefer to keep Noise at a very low percentage.

Advanced Tip: Stylus Properties
If you are using a graphics tablet with a stylus, you can customize what the tool does in response to pressure (as well as other more advanced features, depending on your stylus). The Pastel tool allows you to link stylus pressure to tool size, so that pressing harder will make the strokes larger as well as heavier.
Color Samples

You can pick colors from your reference or the built in color picker as you work, or use your own samples. Ramona uses a custom color sample collection, which you can see on the right of the screen in the screenshots. This collection of color samples can be downloaded here for ArtRage Lite, ArtRage 4 and ArtRage 5.
Reference Image
If you are trying to draw or paint something from real life, it helps a lot to have a good reference image. You can drag the reference out of ArtRage onto a second screen if you have multiple monitors, to give you plenty of space to work. This also lets you enlarge the reference image to fill the screen.
Canvas Positioner
The circle over on the right is the canvas positioner, which you can access by clicking the double headed arrow symbol in the top right of the screen. You can click and drag on the shortcuts to move, rotate, and zoom your canvas. You can also use keyboard shortcuts to do the same thing.
Artist Feature: Ramona MacDonald (portrait artist)
Find more ArtRage tutorials!
[fp_carousel width=”940″ height=”200″ items=”5″ num=”-1″ speed=”600″ cat=”Tutorials” orderby=”date” post_type=”post”]For more help with using ArtRage, check out the ArtRage Manual, the list of community tutorials or previous posts in the Tutorials category. And don’t forget to check the FAQ section!
You can also drop by our Artrage Forums, or Contact our Tech Support directly.