How To Use The Sticker Spray Settings in ArtRage 4
A step by step guide to the settings for the Sticker Spray tool in ArtRage 4. (Note: ArtRage Studio Pro and ArtRage Studio also include the Sticker Spray, but have fewer options available. This tutorial will still apply to all the available options in these editions).
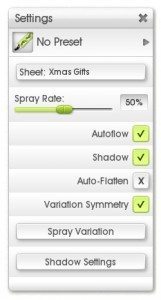
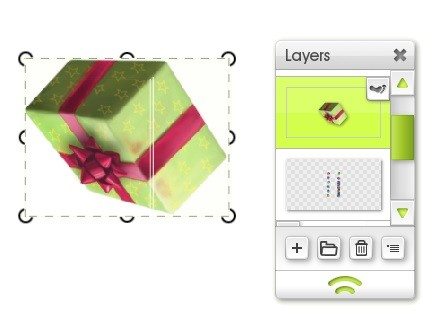
A sticker spray is a repeating pattern based on an image called a Sticker. You can find individual Stickers in the Stickers menu. The Sticker Spray Settings panel lets you modify the active sticker spray, like the Settings for any other tool.
The Sticker Spray Settings can be used to modify an existing sticker spray preset, or to tweak a newly made custom sticker. This tutorial will mostly be using the Gift Boxes preset.
The available settings for the Sticker Spray are:
- Spray Rate
- Autoflow
- Shadow (and Shadow Settings)
- Auto-Flatten
- Variation Symmetry
- Spray Variation (briefly)
To follow along, you will need:
- Your Settings panel open.
- A Sticker Spray preset selected.
Saving Your Changes
Any changes you make will be temporary and only apply while you are using that specific brush, because loading a new preset will override the current settings. If you want to save your changes at the end, just make a new preset.
Spray Rate
Spray Rate controls the rate at which images are laid down when making a stroke with the Sticker Spray tool. Changing the spray rate can have a huge impact on the appearance of the sticker spray. In fact, it’s the secret behind many of the more impressive brushes!
Spray Rate controls the spacing, or how fast the stickers will ‘spray’ out. A Spray Rate of 0% spaces each dot out neatly, and a Spray Rate of 100% creates a steady brushstroke, as the sticker marks overlap closely enough to look like a solid line.
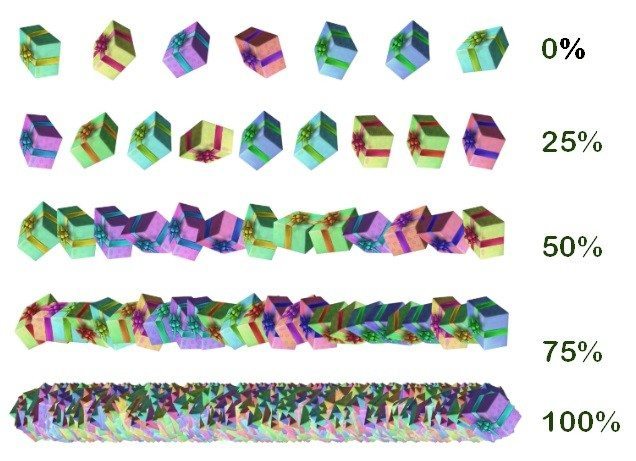
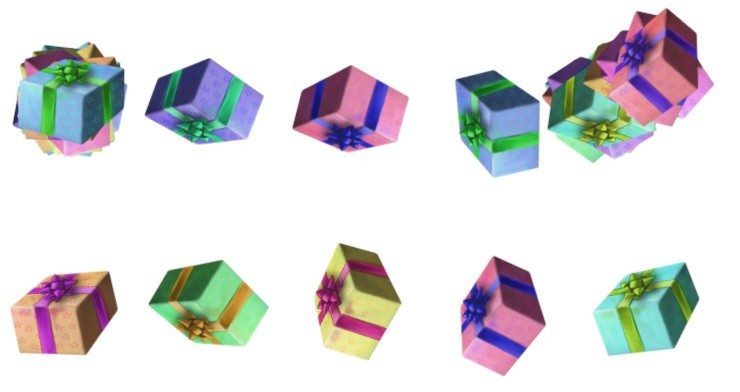
Spray Rate Examples
Changing the Spray Rate (spacing) can create widely different effects from the same brush. You can create solid lines from dots, or draw specific repeating patterns. Tweaking Autoflow can combine to increase the range of options even further.
Autoflow
Autoflow controls whether the paint automatically keeps flowing as long as you hold the cursor down, or only comes out when you move the cursor along the canvas.
Note: This setting is called ‘Continuous’ in ArtRage 3.
Vary the distance between stickers by moving the cursor faster or slower with Autoflow turned on
If you turn Autoflow off, it won’t matter how long you hold your stylus down, the stickers will stop flowing until you move the cursor along.
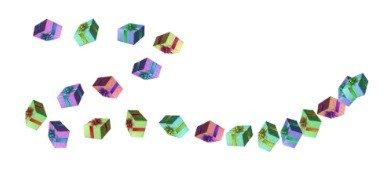
Autoflow Examples
Different sticker sprays react differently to the Autoflow setting.
The two main properties that control the effects are Opacity and Variation.
- Opacity (more translucent stickers will ‘stack’ to create a stronger effect)
- Variation (how widely the stickers will scatter around the central point. With low variation, the effect doesn’t appear until you start moving the cursor, because the stickers are just stacking exactly on top of each other.

Shadow
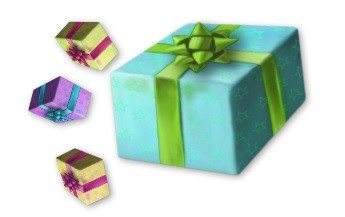
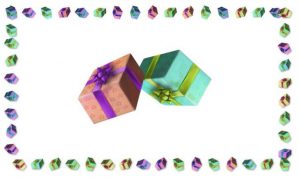
Shadows let you add a touch of 3D to your sticker spray. Shadow is pretty straightforward. Each preset has a default shadow option already set up, so just click it on or off as needed.
You can use Shadows for some really cool things, like drop shadows, complementary colouring, skin tones, cloud shadows and more. Check out some of the neat ideas in the forum: Sticker brush complimentary shadows
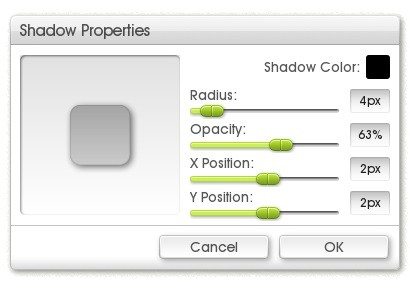
Shadow Settings
You can customise the shadows with the Shadow Settings button, which will open the Shadow Properties panel.

Tip: You can change the main stroke color without affecting the shadow color.

Create soft or hard shadows with Radius and Opacity
Radius: Decide how far out the shadow will spread.
Tip: High radius shadows are fuzzier.
Opacity: How translucent or opaque the shadow is.
Tip: It’s worth experimenting with both at once.
Control Shadow direction with X and Y Position
X Position: How far along the X axis (left or right) the shadow falls relative to the sticker.
Y Position: How far along the Y axis (up or down) the shadow falls relative to the sticker.
Tip: Use these two for directional shadows.
Auto-Flatten
This feature flattens stickers to paint as you lay them down. This means that they act like a normal paint stroke and can be mixed or erased.
Turning Auto-Flatten off means that the sticker spray will be added to its own special layer, as if you were adding them individually directly from the Sticker Sheet.

You can edit individual stickers before flattening them.
Warning: this feature can use a lot of memory, as you may be adding hundreds of individual stickers!
Each sticker can then be individually edited by right clicking on it on the canvas. You can also choose to flatten the layer once you have finished editing the stickers.
Variation Symmetry
Variation symmetry controls whether or not sticker spray strokes will vary while using the Paint Symmetry feature. This setting applies to strokes made with Symmetry active. Turning Variation Symmetry off allows the strokes to vary based on other advanced properties. Turning it on means that the canvas Symmetry overrides any other properties.
Variation symmetry will only affect certain Spray Variation values and properties – anything that varies across the canvas. So Stroke Direction, Center Distance and the Tracing Image related values would be affected by Variation Symmetry, but Pen Pressure and Sequence wouldn’t.
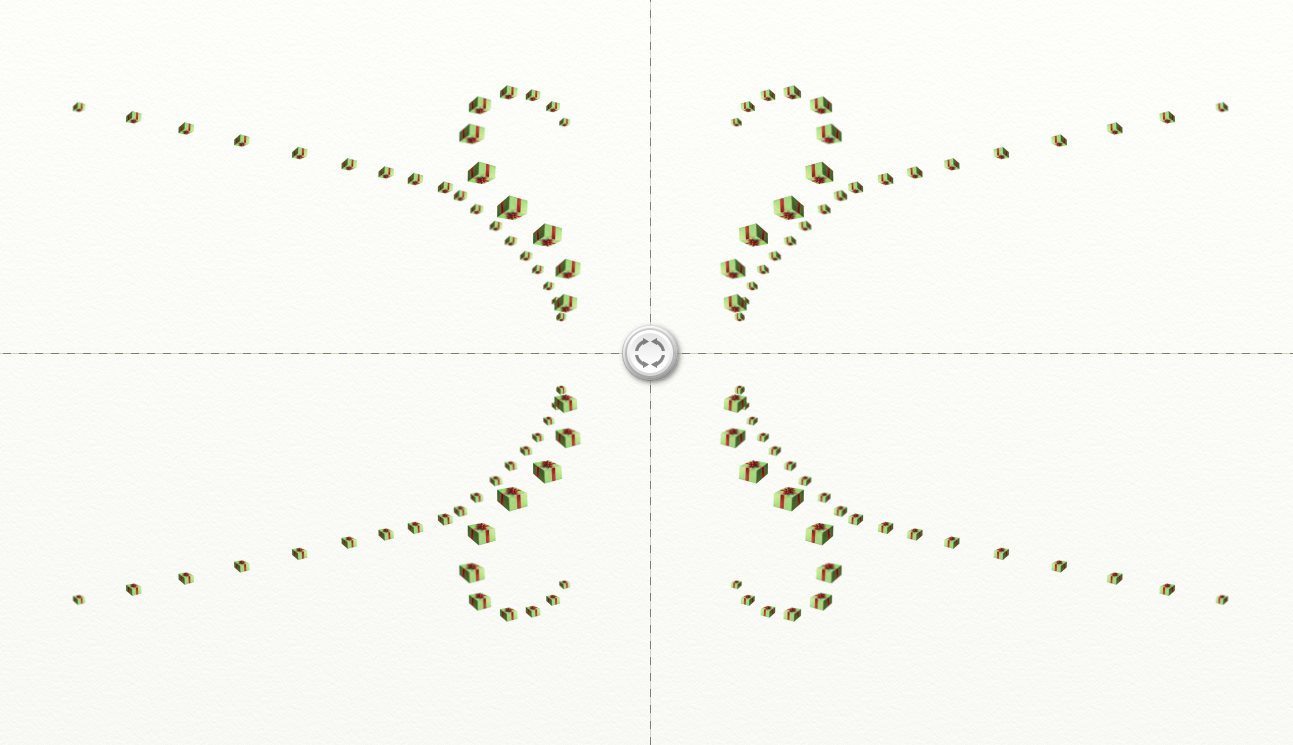
Variation Symmetry OFF
This example is what your strokes would look like with Variation Symmetry OFF and Stroke Direction* ON.
*Stroke Direction is found in the Spray Variation panel and changes the sticker size (or other properties) depending on the direction of the stroke.

You can see that each segment looks very different. Instead of replicating the original segment, each of the others acts independently, so they all show the effects of different Stroke Directions.
Variation Symmetry On
Turning Variation Symmetry on means that all the different sections will look exactly the same.
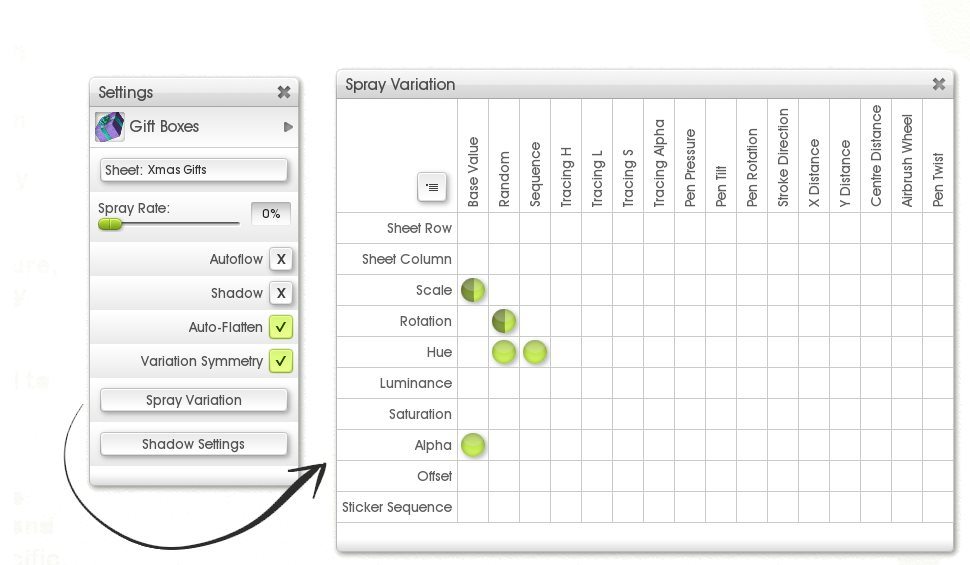
Spray Variation
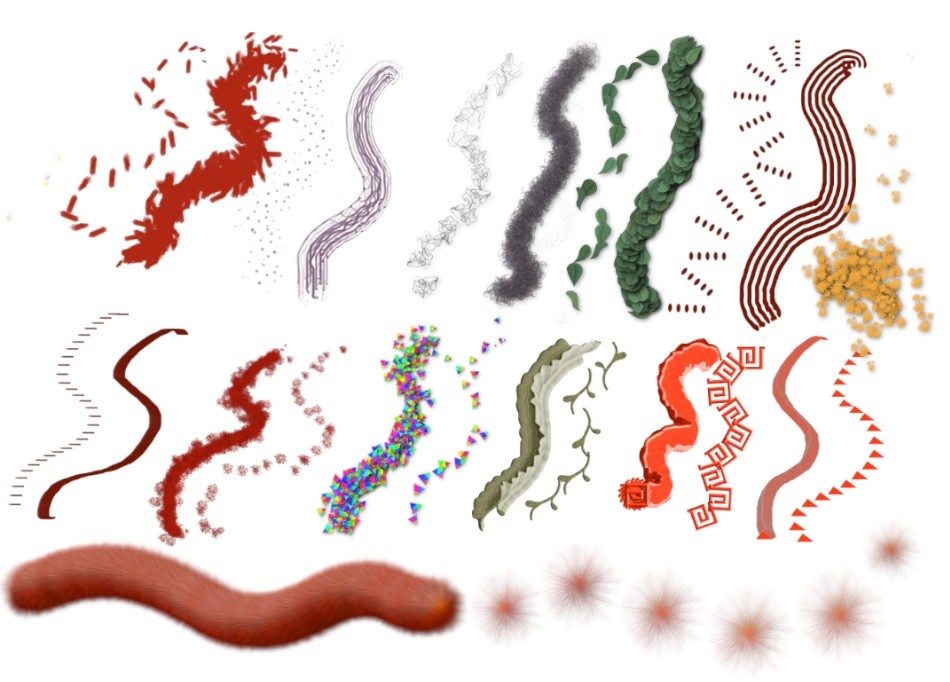
The Spray Variation panel is where you can set all the really complicated properties, like the rotation, pressure, how it is affected by tracing images, whether the color changes every third sticker, or the size increases randomly when making a stroke in a certain direction. This tutorial isn’t going to explore all the options, just introduce you.
The Properties down the left are the properties that your strokes will have. The size, color, specific sticker from a sheet and any other attribute of the sticker’s appearance.
The Values along the top let you choose how a specific option affects a Property. For example, you might have a Random value of 50% for Rotation, meaning that it will vary randomly up to 50% (180 degrees) away from the original sticker’s rotation.
You do not need to use all the values, and many are very specific. The two values you MUST have are Scale (size) and Alpha (opacity), so that you can actually see the sticker.
- Learn more about the Spray Variation panel in the manual: Sticker Spray Variation and in the first post in this tutorial series, Creating A Custom Sticker.
- See a table of the effects of different values on the Scale property in the online manual: Sticker Spray Properties: Scale
More ArtRage Tutorials
[fp_carousel width=”940″ height=”200″ items=”5″ num=”-1″ speed=”600″ cat=”Tutorials” orderby=”date” post_type=”post”]For more help with using ArtRage:
Check out the ArtRage 4 Manual.
The list of Art Community Tutorials or previous posts in the Tutorials category.
And don’t forget to check the FAQ section!
You can also drop by our Artrage Forums, or Contact our Tech Support directly.