Creating A Manga Illustration in ArtRage with Paige Fowler (Sour Candy Arts)
Paige Fowler is an ArtRage artist who specialises in detailed manga and gothic fantasy illustrations and fan art. She created this tutorial to share her process for creating manga illustrations in ArtRage 4. Her techniques should be useful for artists of all levels.
We highly recommend checking out our Sour Candy Arts feature with Paige Fowler to see more of her artwork!
How to Create A Manga Illustration in ArtRage with Paige Fowler

Overview
There are only four major steps in my process: Sketch, Outline, Basic and Character Color, Background Color. It would be best to make sure you are done with each step before moving on to the next, but you do NOT have to commit to the rough sketch if you see something you would like to add or change.
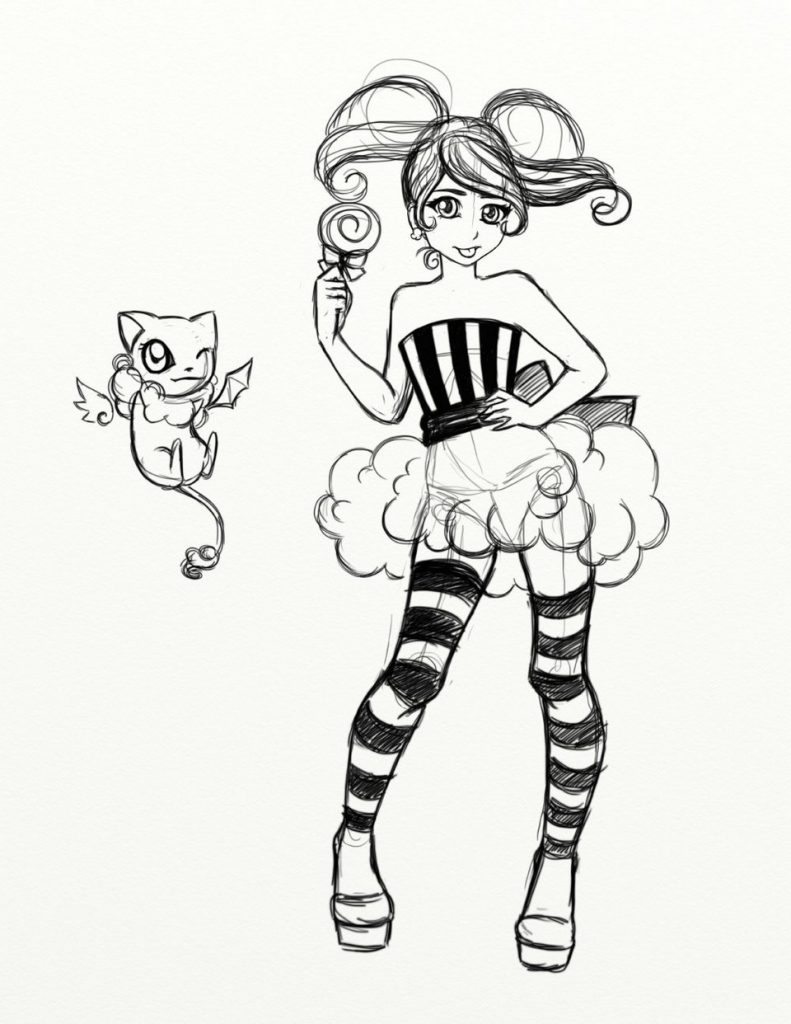

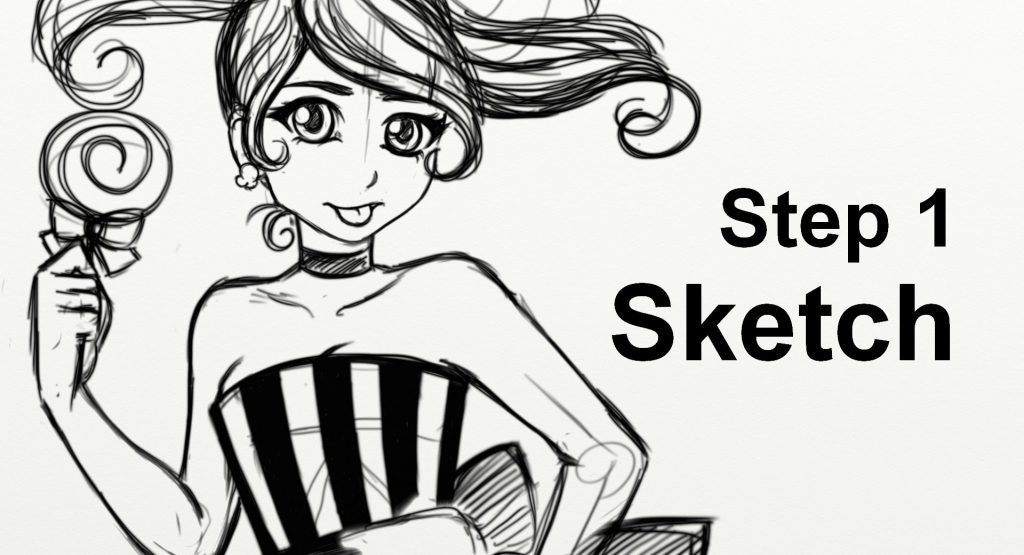
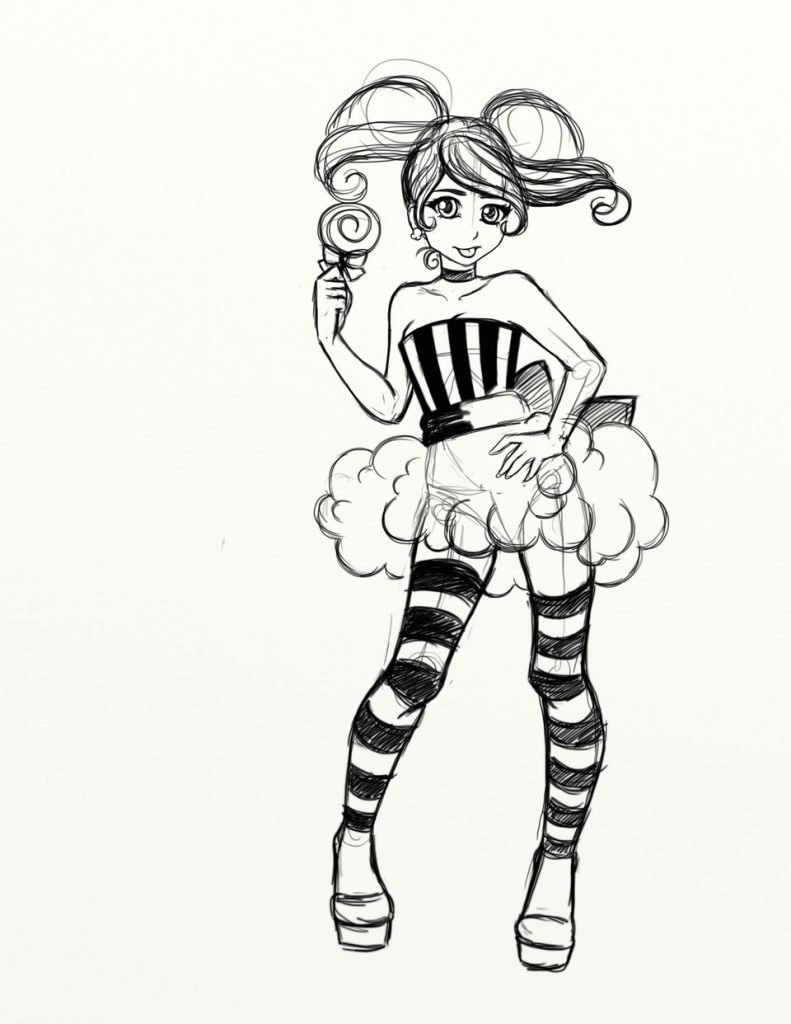
Step 1: Rough Sketch
The rough draft is going to basically be what you plan for your character to look like. It does NOT have to be pretty or clean. You can be as messy as you please. I will usually use up to five layers to play around with an idea, whether it’s the body pose or outfit ideas.
First, I would decide on what emotion I want the pose to express, and play around with that idea until I am happy with it. Sometimes, if there is a specific facial expression I want to use, I will start from that and base the pose off of the face.
Next, I would go back and tweak the pose and body shape. I might even completely change the pose if I get a better idea.
After I make my final decision and am happy with the way everything looks, I will go back and erase unnecessary lines and delete/merge layers as needed. I want to only have one layer before starting the next step.
Watch a video of Step 1!
While the total drawing process is too long and complicated to describe in detail, you can watch the video of step one below!
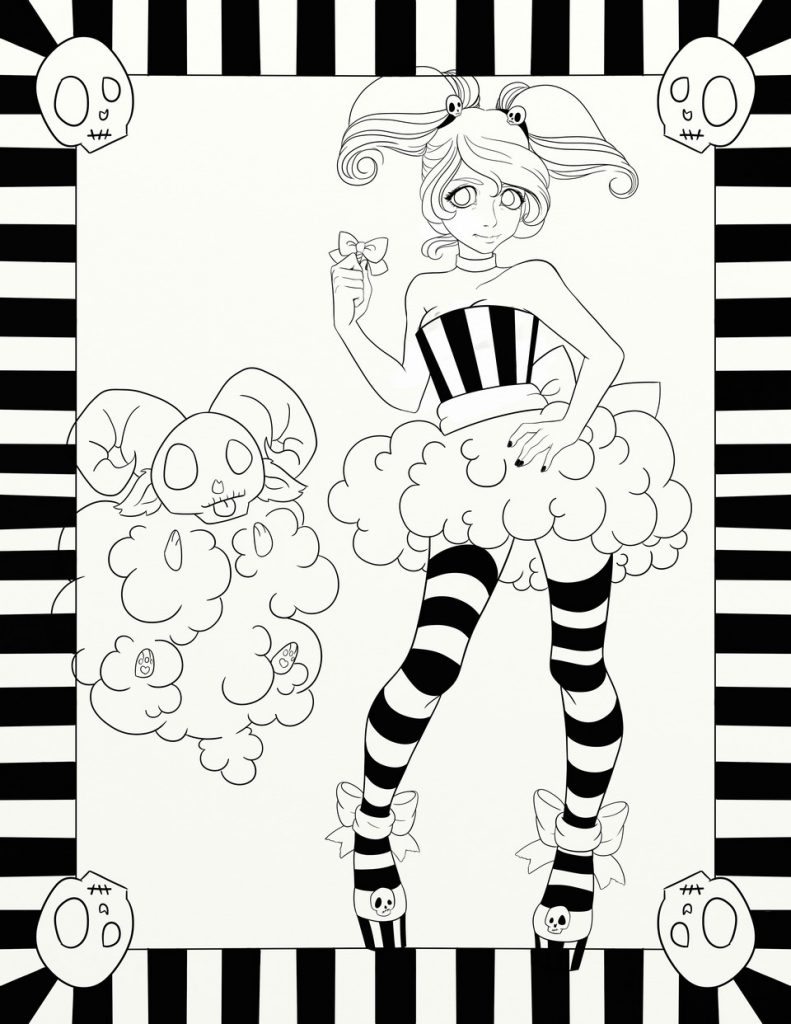
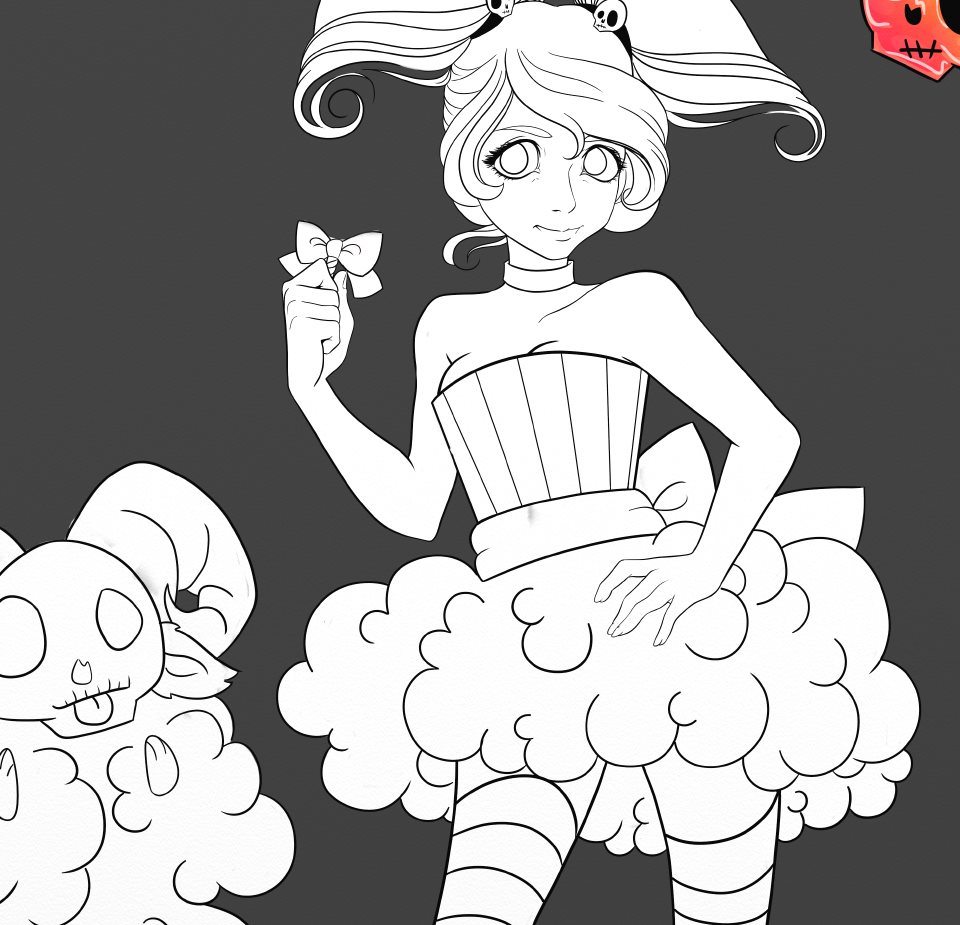
Step 2: Outline (Line Art)

After the rough draft is cleaned up and everything is all on one layer, make a second layer that will be placed on top. I then use the Ink Pen tool and trace all the lines I want to keep. After I’m finished, once again I will decide whether or not if I want to add/change anything.
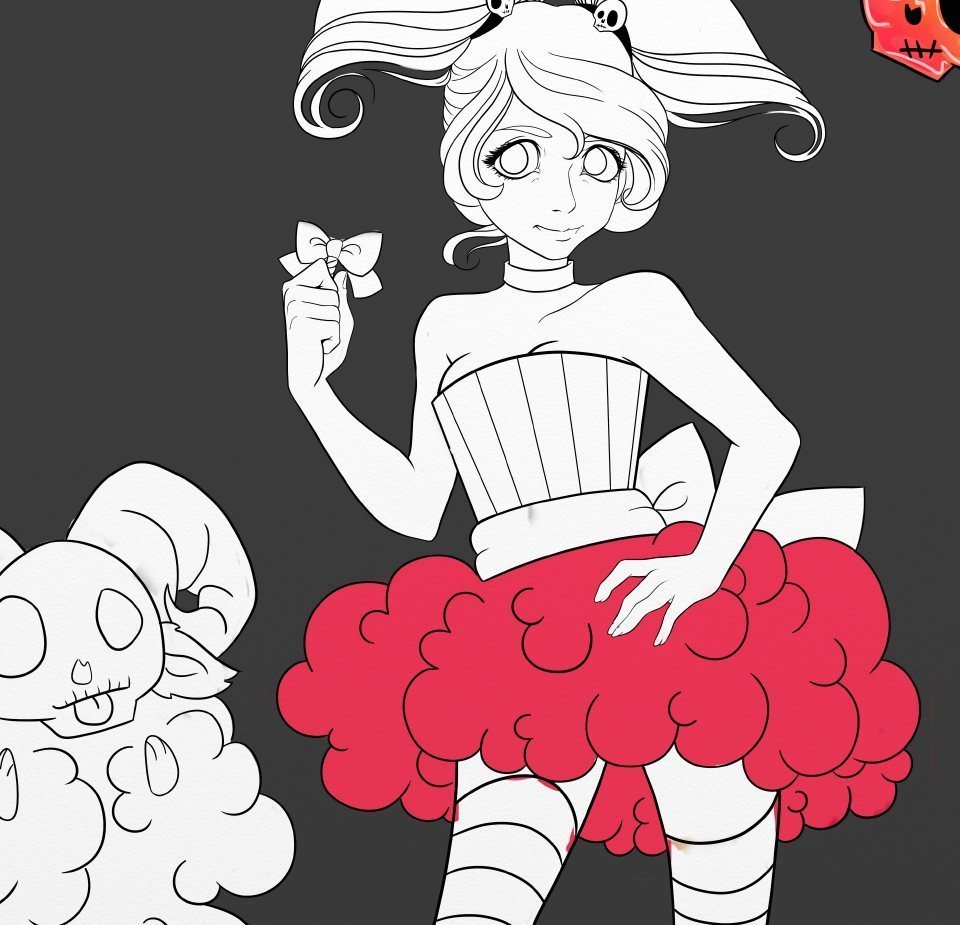
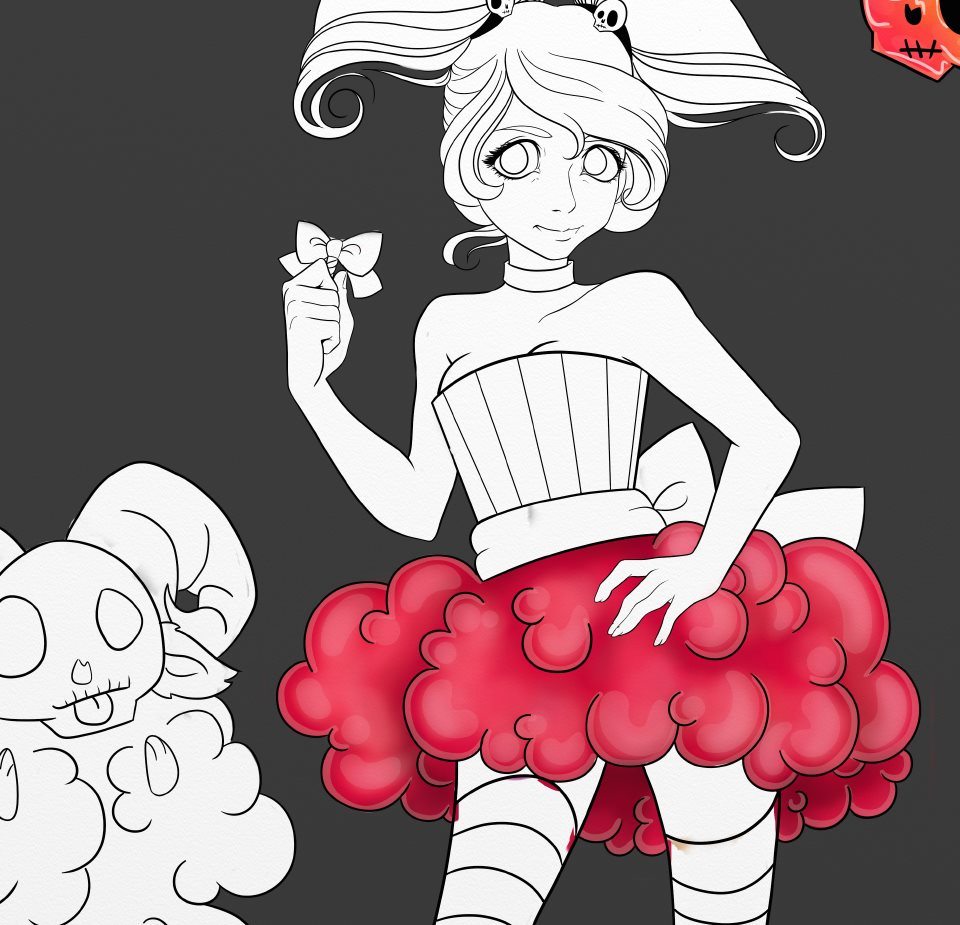
Step 3: Basic Color
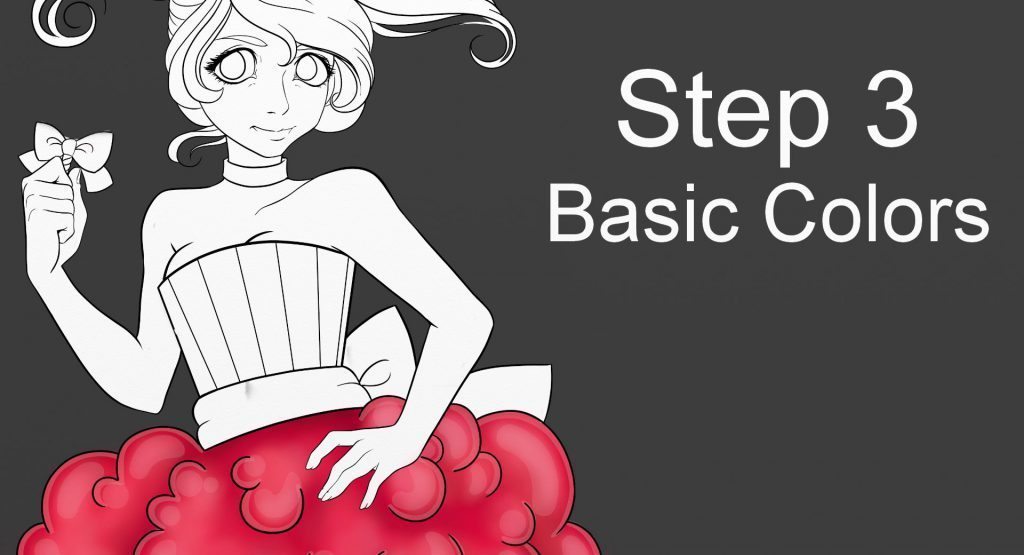
Keep the cleanly inked outline layer (line art) on top of all other layers.
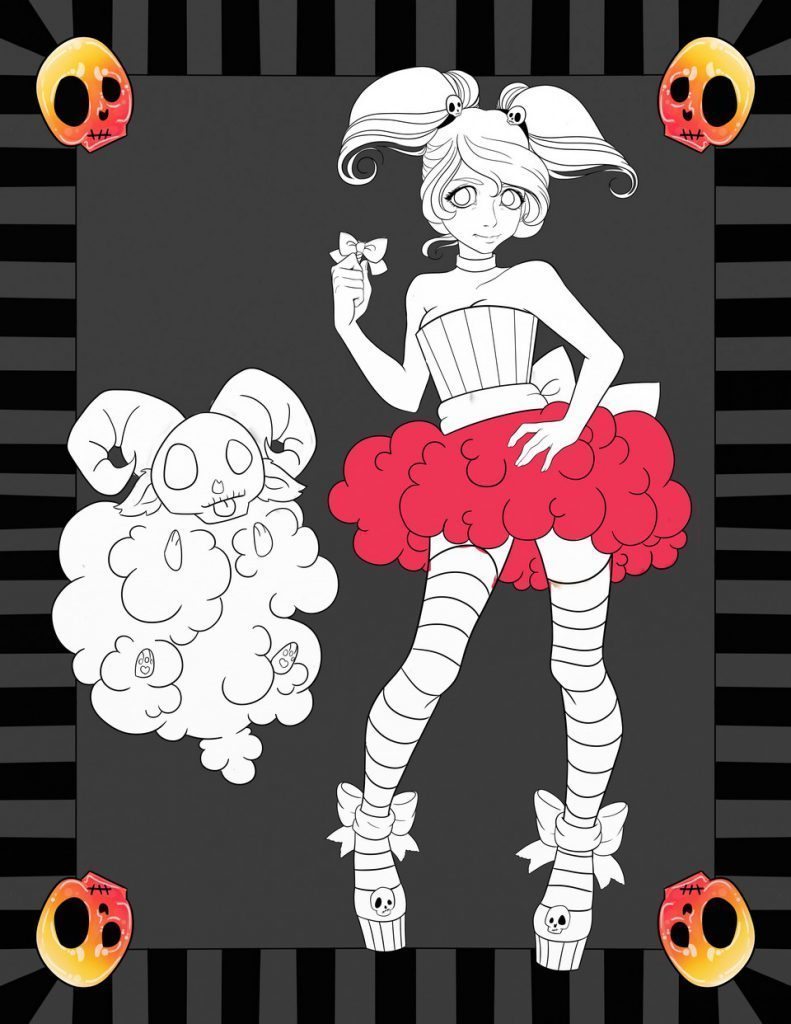
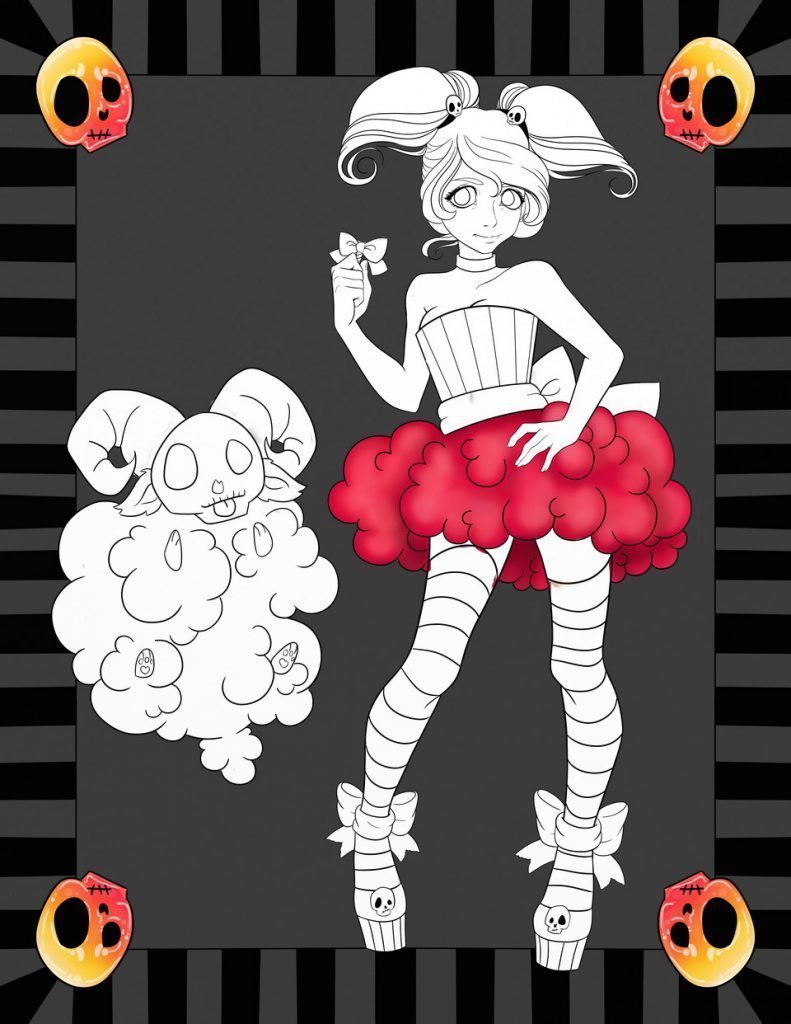
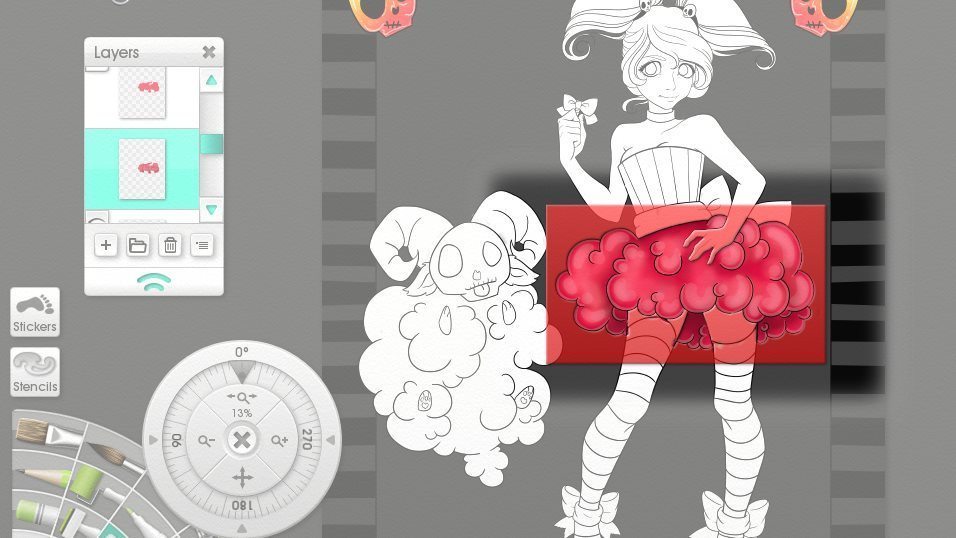
First, I make a separate layer for the background color, which will be the bottom layer. After I choose a color, I would make another layer above that one for the character’s color. Your character color layer will look like Image 1.
At this point, there are four layers:
- The rough draft on the bottom
- Background color
- Character color
- Outline on top
For the character’s base color, you would want to use another color that is not the same color as the outline and background. Usually my outlines are always black and with the background being colored, I start with white for the character’s color. Just make sure you are on the layer for the character only.
Tip: Use A Stencil To Keep Paint Inside the Lines
After coloring in the character, make a stencil out of the layer, then make new layers for the rest of the drawing (such as the skin, hair, eyes and lips, clothes, and accessories). These will be use to separate the character into different sections to help keep everything nice and neat. For each of these layers I will make a stencil every time I edit them, so that everything will be neat and clean.
Tip: If you have too many layers, you can merge them down when you have finished with them, and keep the stencils around to help you edit areas within the layer later.
Example Layers
The layers might look like this:
- The rough draft on the bottom
- Background color
- Multiple layers for area of character color
- Skin
- Hair
- Eyes and lips
- Bottom layer of clothes, stocking, corset
- Top layer of clothes, shoes, skirt
- Accessories, gloves, nails, waist ribbon, etc.
- Outline (line art) on top
Make sure to constantly save! My process uses a lot of layers which can over work the program and can cause it to crash. It has only happened to me three times in the many years that I have used it. It has never happened while using it on a desktop. While on my laptop, I make sure to use my cooling fan to help keep my laptop from overheating.
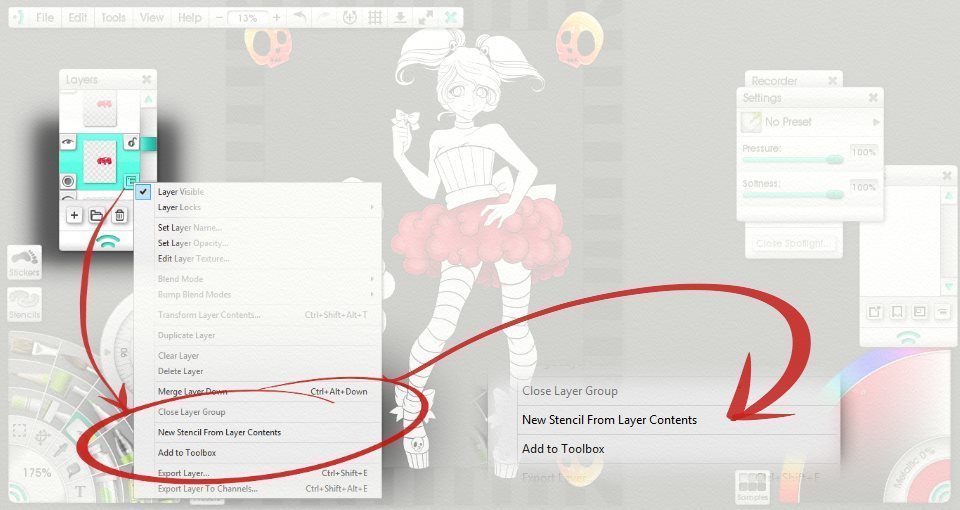
Creating Stencils
To create a stencil from a layer, go to the Layers menu and click the (menu) button for that particular layer, then choose ‘Create a new stencil from layer contents’. This will be added as a temporary stencil (saved just with that painting, and gone forever if you delete it). To re-use it in other paintings, right click on the stencil and choose ‘Add to Collection’.
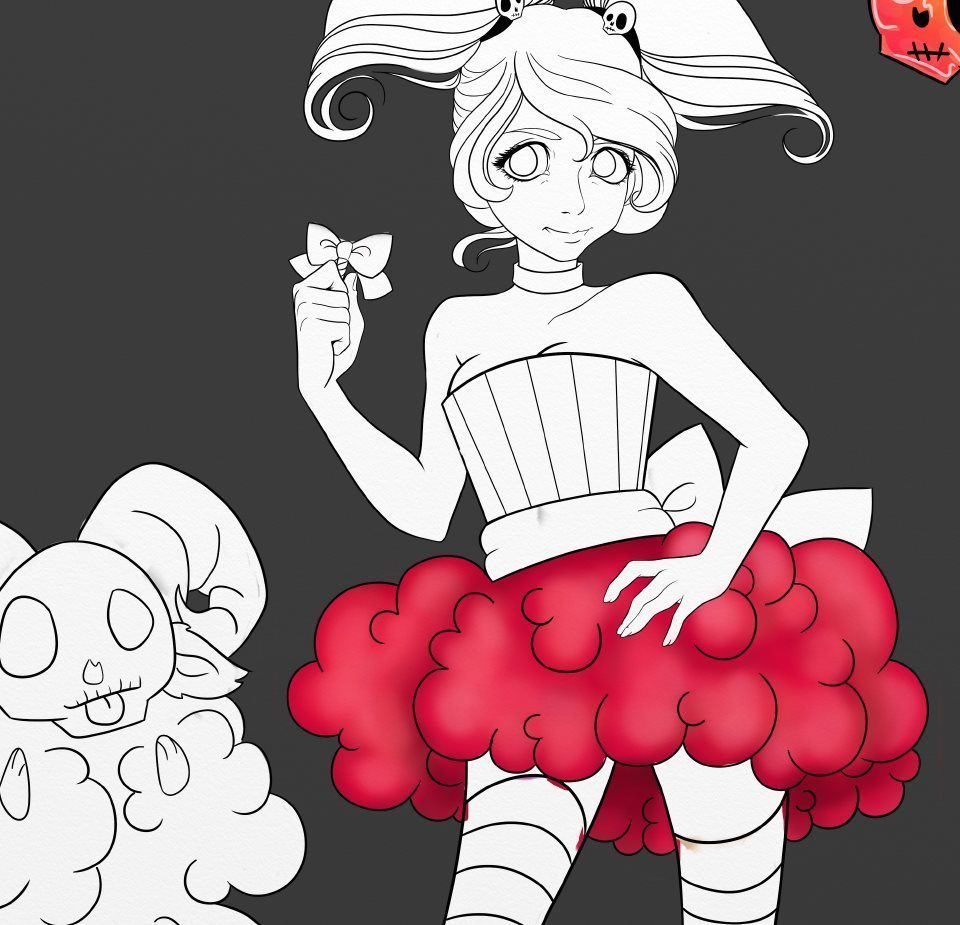
Step 4: Detailed Color
This is where all of the separate layers come in handy. After shading each layer using the blending marker and airbrush tools, I will make a new layer that will be place over the colored layers. The new layer will be used to add highlights (I have the highlights on a separate layer in case I decide I don’t like it and would like to change it without starting over). For this I use the pen tool on a low transparency.
After I am done my layers will look like this:
- The rough draft on the bottom
- Background color
- Multiple layers for area of character color
- Skin color
- Skin highlights
- Hair color
- Hair highlights
- Eyes and lip color
- Eyes and lip highlights
- Color for bottom layer of clothes, stocking, corset
- Highlights for bottom layer of clothes, stocking, corset
- Color for top layer of clothes, shoes, skirt
- Highlights for top layer of clothes, shoes, skirt
- Color for accessories, gloves, nails, waist ribbon, etc.
- Highlights for accessories, gloves, nails, waist ribbon, etc.
- Outline (line art) on top
This will be the same process that I use for whatever I have for the background and for any added characters. For example:
- Color
- Highlights
- Color
- Highlights
- Color
- Highlights
This is just my process and for me this is simple but for others it may seem complicated.
You can always have just three total layers for the character: skin, clothes, highlights. It is easier for me to separate everything in case I need to quickly change something without having to mess everything else up. Most of the time I think as I work, so I want to leave room in case something comes up.
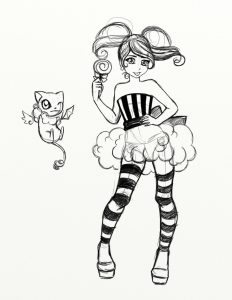
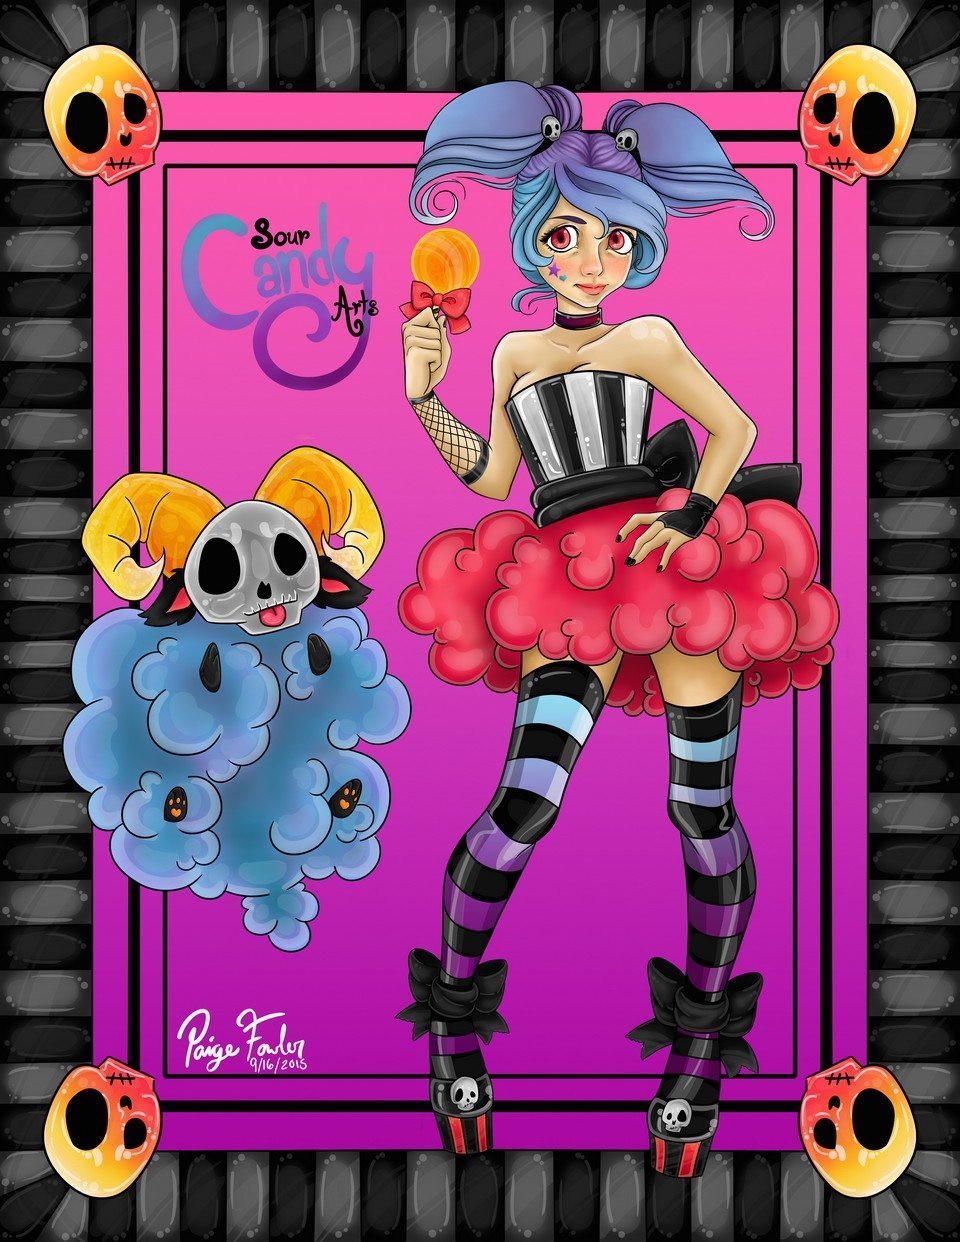
Final Image

See the artist’s ArtRage Artist Feature to learn more about them and see more of their artwork!
Manga Tutorials & Articles
[fp_carousel width=”940″ height=”200″ items=”5″ num=”-1″ speed=”600″ tag=”manga” orderby=”date” post_type=”post”]For more help with using ArtRage, check out the ArtRage 4 Manual, the list of community tutorials or previous posts in the Tutorials category. And don’t forget to check the FAQ section!
You can also drop by our Artrage Forums, or Contact our Tech Support directly.