Add Grids to Canvas and Reference Images

Note: Screenshots are from ArtRage 4.5.
Accessing the Grid
The Grid menu can be opened from the crosshatch symbol that can be found in the top row of buttons or by going to View > Grids.
 ArtRage 4.5 menu from Windows version
This will bring up the Grid menu. All the menu settings can be changed as you paint.
You can also open the Grid, or quickly toggle the Grid visibility and the Snap To Grid setting by going to View > Grids.
 Find the Grids under the View menu
Appearance of the Grid
- The grid appears as an overlay on your painting (much as a tracing image would) and is not visible on exported or printed images.
- The visibility can be toggled on and off, or adjusted using the opacity slider.
- Snap To Grid is the only option that can be toggled while the grid is invisible.
- The line color can be changed to any available hue in the color picker.
- The thickness of the grid lines will self adjust as the size changes.
Snap To Grid
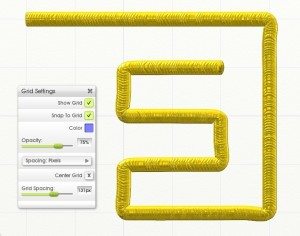
The Snap To Grid option will force your lines to follow the path of the grid lines. This will let you create geometric designs, and borders, as well as use consistent measurements across your painting and plan out your composition and perspective. If you wish to use the Grid purely as a reference tool, then this function is easily turned off again.
Snap To Grid and Individual Tools
All painting and drawing tools will follow the lines, as will Selections and placement of objects using Transform.
Auto-smoothing (with the Ink Pen or Pencil tools) will smooth the lines out after they are drawn, allowing you to create even curves. It also helps you with your lettering.
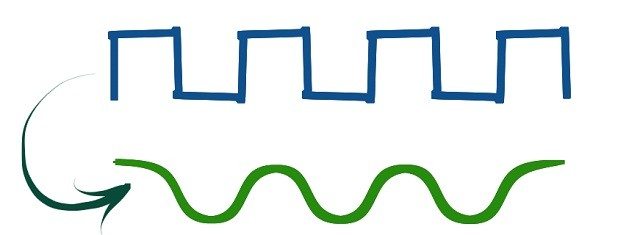
You can adjust the amount of smoothing to control how strong the effect is.
The Color Sampler, Text and Fill tools do not use Snap To Grid.
Grid Spacing
You have two different grid options: Pixels and Squares.
These can be chosen via the drop down menu and will act differently when you crop and resize your canvas.
- Both have sliders for changing the size, or the option to set a number between 4 and 200.
- They start from the top left corner by default unless you pick “Center Grid” (this affects whether they shift relative to your drawing when you crop or resize).
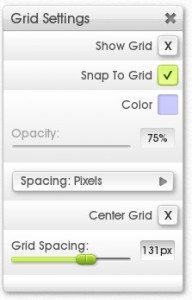
Pixels (Absolute)
- The default option.
- Will create squares based on an exact pixel measurement
- They may overlap the edge of the canvas
- Squares will remain a fixed size if you change the canvas, so will shift position relative to your drawing
- Based on digital pixels
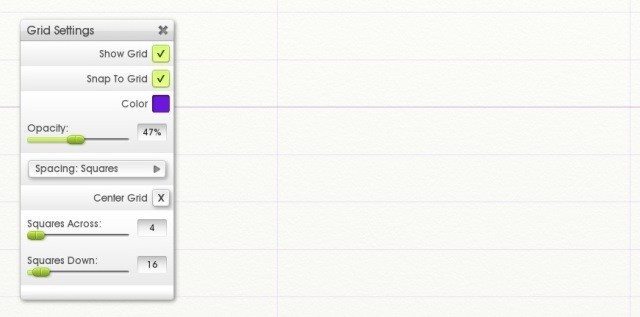
Squares (Relative)
- Allow you to set the exact number of grid lines across and down the canvas
- You can divide the canvas into proportional segments or create columns and rows
- Will be a fixed size relative to the total canvas when the canvas is resized
- Will readjust dimensions if the canvas is cropped or expanded
- Based on real world “T Squares”
Grids and Reference Images
The grid will also appear on your reference images to act as a guideline for proportions. The Reference image grid will use the same settings as the canvas. It can be toggled on and off using the global “Show Grid” option.
‘Pixel’ spacing will reflect the actual pixel size of the Reference image, so you may have a different number of squares across differently sized references and the main canvas. However, the shape and pixel size of the squares will be the same.
‘Squares’ spacing will be relative to the dimensions of the reference image, rather than the canvas (so both images will show the same number of lines down and across, but the proportions may differ).