How to Illustrate A Book Cover Part Three: Colour & Special Effects
An ArtRage 5 tutorial by Nick Harris
In this three part tutorial, Nick Harris uses ArtRage 5 to design a book cover from scratch and share some of his experience and techniques.
This tutorial assumes that you are somewhat familiar with ArtRage 5 and covers customising the canvas resolution and interface, guides, toolboxes, the Custom Brush, filters, layers and advanced layer properties, standard painting tools (Pastels, Pencil, Palette Knife, Watercolor Brush), symmetry, text, stencils, transform and tool presets. If you need help understanding any of the tools mentioned, see the online manual or browse the tutorial section for a more introductory tutorial.
Nick Harris is a professional illustrator and long time ArtRage user. See more of his work at nickillus.com.
The Book Cover Tutorial
This tutorial is broken into three sections and is available as a single video. You can also watch a video of the process of creating Custom Brushes for this tutorial.
- Part One: Setting Up Your Canvas and Workspace
- Part Two: Sketching, Flats and Shading
- Part Three: Colour and Special Effects (this page)
Watch the entire tutorial as a video
You can watch the complete tutorial series as a single 40 minute video. The colouring and special effects covered on this page start at 11.20 minutes into the video and continues for the next half an hour.
Part Three: Colouring Everything
Part three shows how to choose colours, finalise the composition and details, and experiment with special effects and finishing touches.
Click through the images below to see the colouring, text, and special effects covered in part three of this tutorial.
[justified_image_grid ng_gallery=40]Adding Colour
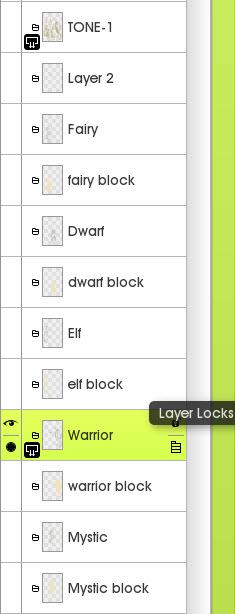
Using those layers prepared earlier with flat, neutral colour behind each drawing, I begin adding positive colours to the characters. To keep things lean, I select the padlock icon on each layer and opt for ‘Lock Transparency’. This will prevent me from straying over the edges I’ve already spent time painting. In effect it acts to do the same thing as a mask. Locking the transparency of each colour layer, I start picking out some key colours on each character. At the same time I’m still refining the drawing as I go.
Choosing Colours
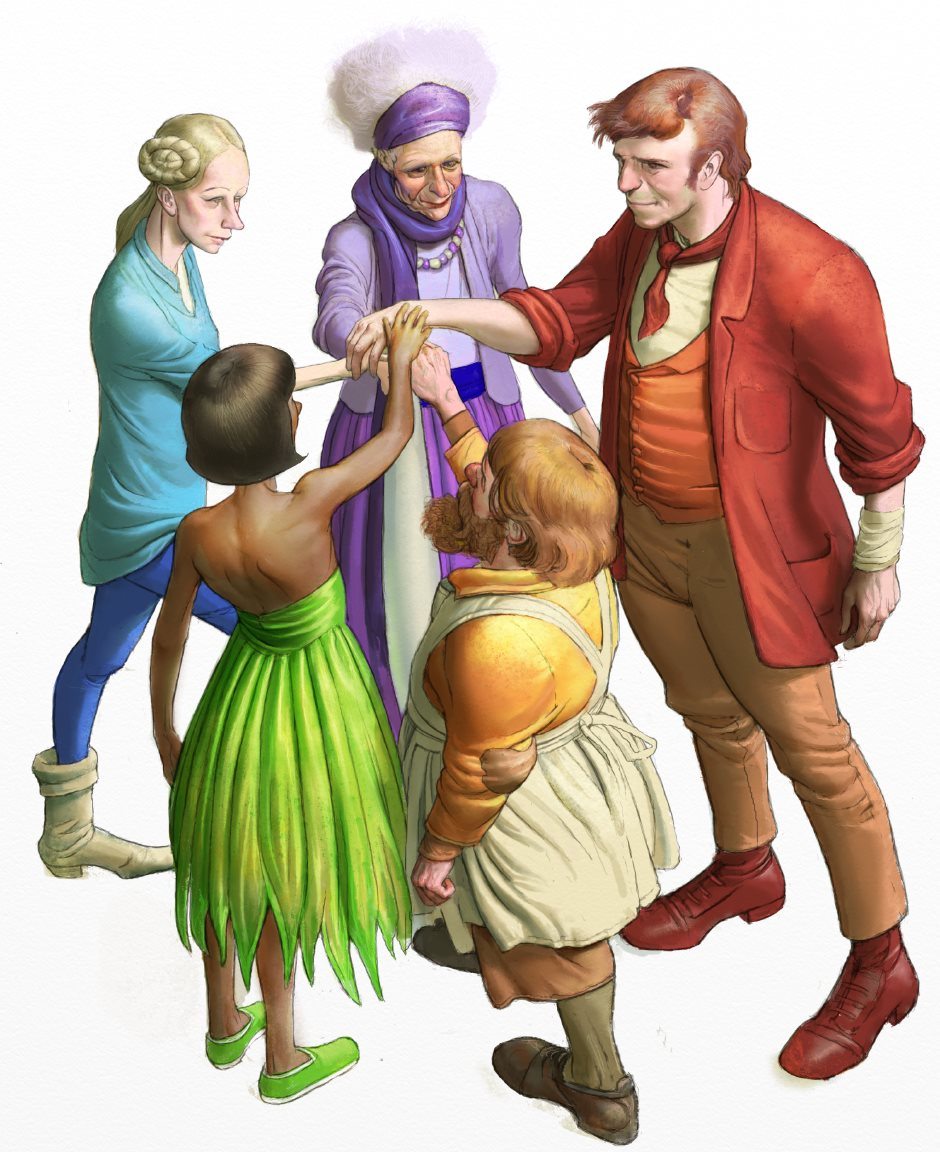
Even though there are only five characters, and there are seven colours in the conventional rainbow (red. orange, yellow, green, blue, indigo, violet), the plan is to reflect those colours as we move around the group. That is to start with red on one end and finish with violet at the other.
I use red/orange for the male character on the right, painting with the pastel tool again. The colours vary through orange/yellow on the dwarf, yellow/green on the girl with her back to you, turquoise/blue on the girl to the left of her and indigo/violet on the character at the back (now decided as an older lady).
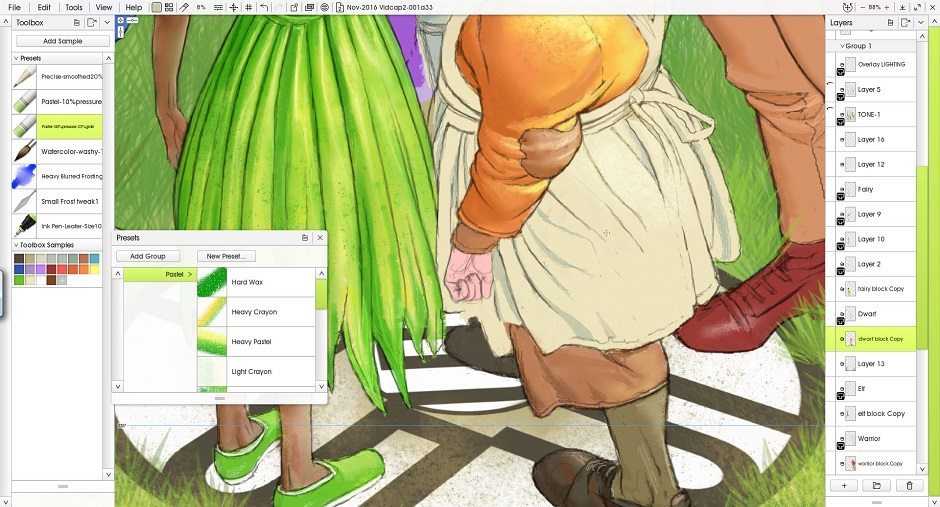
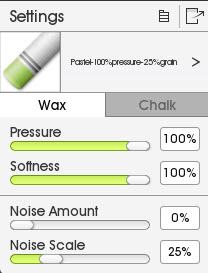
You can introduce more modelling and colour variation into the volumes on these layers. I like the pastels, but use whatever you prefer. It’s a great chance to add colour to shadows, to imply things like reflected light. You’ll likely find yourself having to tinker with the watercolour shadow layer/s as you do things like this. The thing about layers is they work together to create an effect.
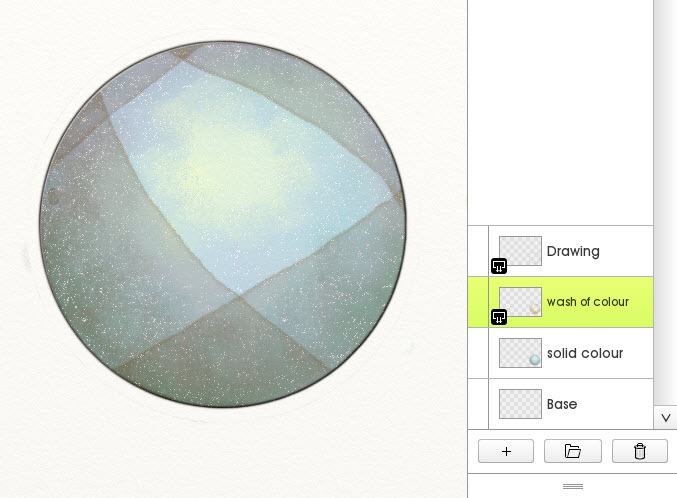
Generally speaking, the majority of my colour application revolves around a combination of painting translucent washes (watercolour) over layers of solid colour (pastel, or sometimes the oil brush). I add washes that usually sit on top of all the other layers to paint shadow colours that unify the lighting – watercolour again. However you can also have individual, watercolour, shadow layers for each little group as well. Tailor your particular layer stack to suit the particular image you are working on. Sometimes you will want a shadow to sit clearly behind something – other times to sit on top.
Shadows and Highlights
Once the meat of the image has enough rendering done, it’s time to move to the really fun bit. For me that’s tweaking values and adding highlights to try and make the image ‘zing’. That’s not me saying I always manage it, but it’s fun trying. This part of the process involves deepening selective shadows, crisping and enhancing highlights – that kind of thing. It’s often a good idea to take a break from the image before starting this bit. You come at it with a fresh eye and will get a better idea of what needs what and where.
Title Text
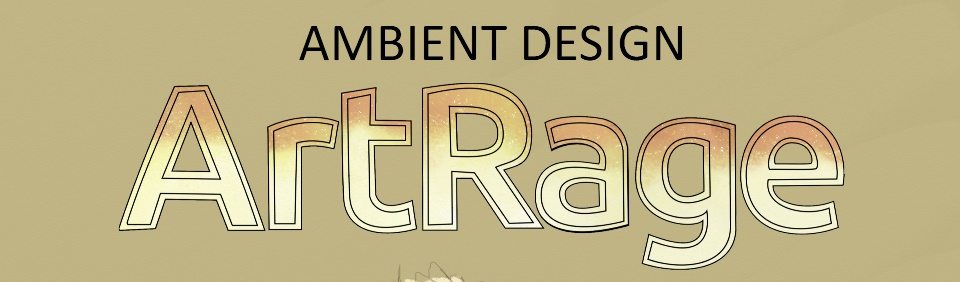
Finalising the appearance of the text.To recap from earlier in this tutorial, the main title text on this image is actually created in a vector software, and based on a screengrab of the text on the Ambient site (naughty on my part, but appropriate because of the image content). It makes more sense for me to trace it in that rather than in ArtRage itself. I wanted clean line work on it and this is a quicker way. I choose to create filled vector shapes and I export it from the vector software (as a PNG with transparency – software is Serif Affinity Designer, for the budget conscious) then ‘import to layer’ in ArtRage.
Once exported as a PNG it no longer retains its vector qualities and becomes pixel based. All that means in real terms is that you’ll lose what you gained in line quality if you scale it up too much. I move it to where I want it and don’t really mess with it.
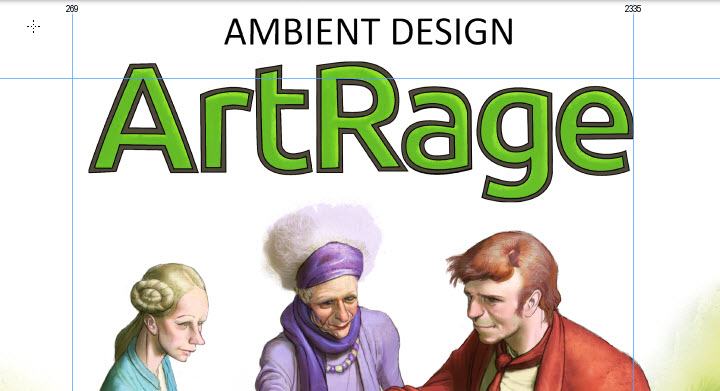
It’s currently in black and white and I’d like to add colour. By duplicating the layer and then locking the transparency of it, I can paint away on it with my preferred pastels and not go over the edges. However by doing this you will painting over the line work on the text.
Move the original text layer above the duplicate, and set its blend mode to multiply. I would tend to lock it as a layer so I can’t paint on it by accident. Now you have the line work fixed above the layer you are painting colour on. Group them if you wish. Don’t forget to unlock the text, should you decide to move the group though. That kind of thing can drive you mad, trying to work out why it won’t move.
ArtRage does deliver a text tool and it is perfectly serviceable. After selecting it from the tools, it manifests itself as a flashing cursor, insertion point, where you click on the canvas and type away. Turn to the keyboard to write your text. Highlight the text using the cursor, as you would expect, and open settings and you can edit the usual suspects – font, size, bold, etc. Move the text around using the transform tool. Should you want to be able to paint on the type for more textural effects, you need to rasterise the layer first. My preferred way to do this is to create an empty layer below it and merge the text layer down into it. Lock its transparency as we did before and paint away. I type the words ‘Ambient Design’, edit size and font, move it where I want it, but leave the colour as black.
Note
You can use ‘Layer Effects’ to quickly add special effects like dropshadows and embossing in ArtRage 5. You can find the Layer Effects in the same place as the Layer Blend Modes, in the menu for a specific layer. Layer Effects will work for text layers as well!
Adding A Logo
Add extra design elements and use transform to fit them to the image.
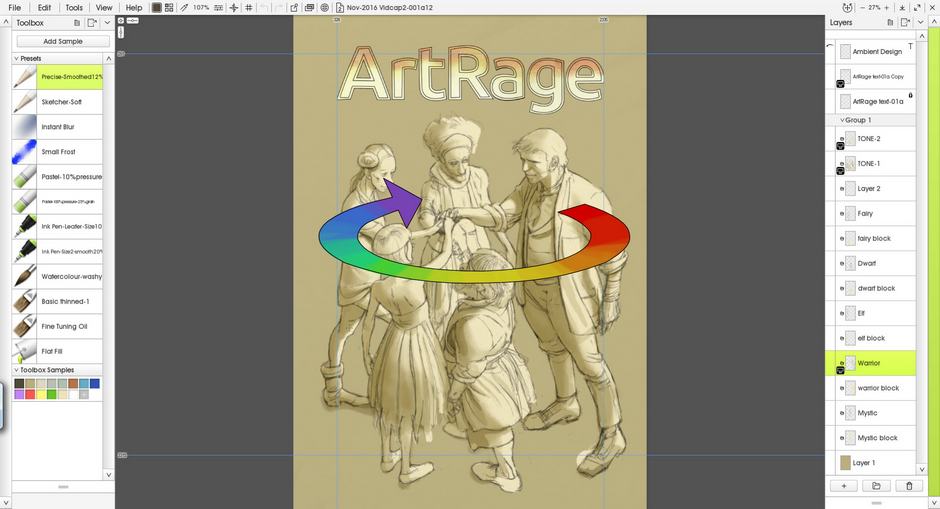
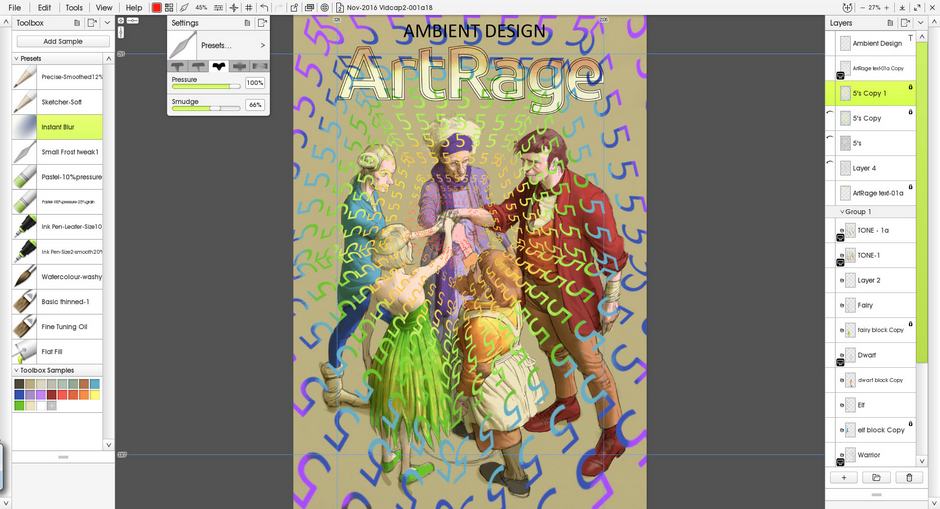
To help reinforce the 5 message I want to knock together some sort of logo/symbol for them to be standing on. I add a large number 5 with the text tool, duplicate it four times (to make five in total) and translate them into a group. Four round the outside of a central one (which I make smaller so that the other four can be touching, but not overlapping).
I collapse them to one layer and make another layer above, on which I paint an enclosing circle, using the pastel tool and ‘Circular Rim’ stencil – the same colour as the text. I duplicate the circle layer and scale it down to form an inner ring too as extra embellishment.
Once happy with their placement, I merge them to one layer, duplicate (for a back up in case I fudge things up) and use the irregular transform tool with ‘Content Perspective’ ticked to adjust the position and perspective to fit the scene.
Background
Now that the people have been mostly finished, it is time to get rid of the brown background and experiment with some more dramatic options. First, the background is divided up into white and green to frame the figures, then I start adding grasses and textures to build up the environment using the Custom Brush.

Special Effects
Custom Brushes and Symmetry can be used to add patterns and textures
I designed my own brushes in the Custom Brush Designer to add organic textures and designs to the nearly finished illustration, as well as to make it quicker and easier to add grass and foliage. The grass is one of the only Custom Brush additions that made it into the final image, but you can see several other brushes in the video as I played with different effects. You can watch the creation of the brushes in this video
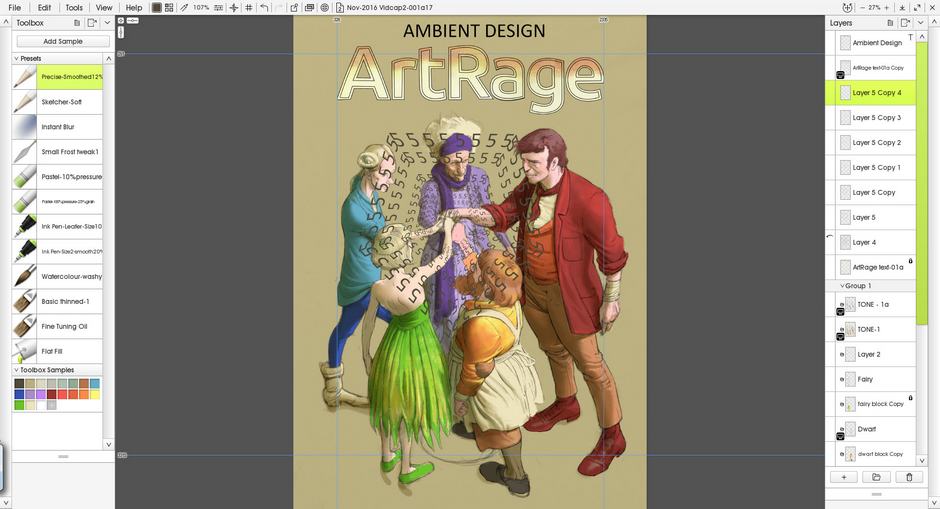
I also used rotational symmetry to add rainbow ‘5’s radiating out from the center. The Text tool does not work with symmetry, so I added the 5s by pasting them in and adjusting them to scale using the symmetry axes as guides. I merged them down to a single layer and used lock transparency to add a rainbow hue, then finished by blurring them with the Palette Knife (you could also use the Blur filter but this would blur everything evenly without a radiating or motion effect).
The text and fancy effects can be added at almost any point towards the end, but the closer the picture is to the final version, the easier it is to see if the extra touches work with it or not. For this picture, I continued playing around, adding and removing things, until I was happy with the final illustration.
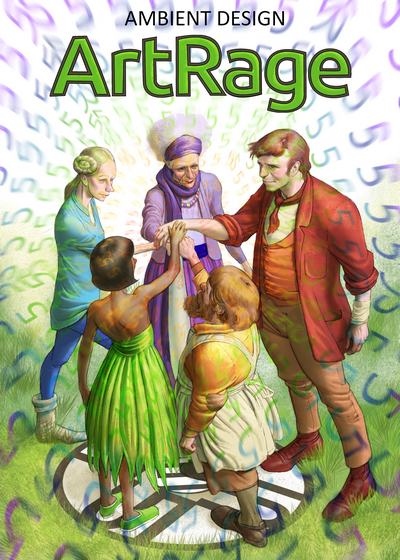
Finished!
‘The ArtRage Five’ illustration is complete!
