How to Illustrate A Book Cover Part One: Setting Up Your Canvas and Workspace
An ArtRage 5 tutorial by Nick Harris
In this three part tutorial, Nick Harris uses ArtRage 5 to design a book cover from scratch and share some of his experience and techniques.
This tutorial assumes that you are somewhat familiar with ArtRage 5 and covers customising the canvas resolution and interface, guides, toolboxes, the Custom Brush, filters, layers and advanced layer properties, standard painting tools (Pastels, Pencil, Palette Knife, Watercolor Brush), symmetry, text, stencils, transform and tool presets. If you need help understanding any of the tools mentioned, see the online manual or browse the tutorial section for a more introductory tutorial.
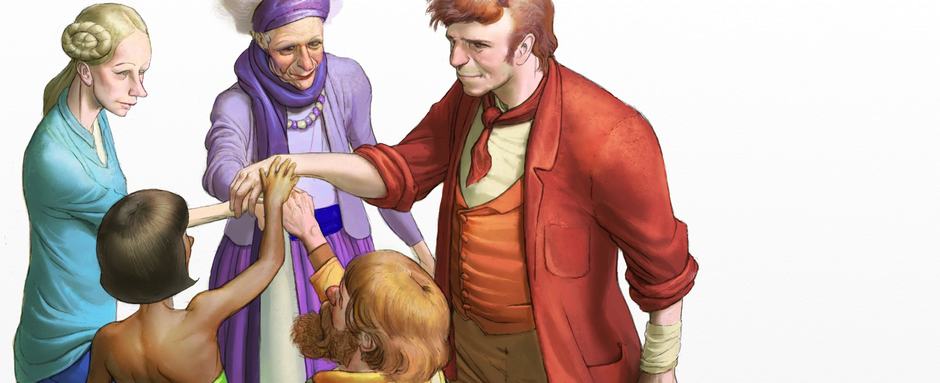
Nick Harris is a professional illustrator and long time ArtRage user. See more of his work at nickillus.com.
The Book Cover Tutorial
This tutorial is broken into three sections and is available as a single video. You can also watch a video of the process of creating Custom Brushes for this tutorial.
- Part One: Setting Up Your Canvas and Workspace (this page)
- Part Two: Sketching, Flats and Shading
- Part Three: Colour and Special Effects
Watch the entire tutorial as a video
You can watch the complete tutorial series as a single 40 minute video. The canvas and interface set up covered in part one continues until about 4.18 minutes into the video.
Part One: Getting Set Up
Part one covers setting up the document and interface ready for a book cover design that needs to be printed.
Canvas Size
Set the canvas resolution for printing before beginning to paint.
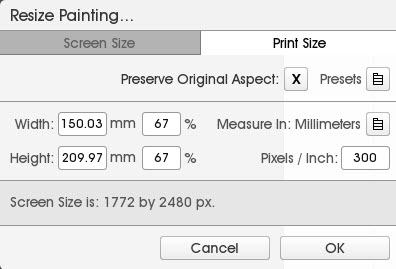
Just for fun, we’re going to tackle a book cover. All that means is that we’ll be leaving space for some type and bearing a few other things in mind. This is going to be an A5 portrait format image (approximately 210mm high by 150mm wide). Cover sizes vary according to various factors, but this is only an exercise, so I’ve gone for something that should conveniently fit your printer, but not use up all your ink in one go. Many of us have an A4 printer lurking round the house, and A5 is half A4 in size.
Go to the new canvas screen or Edit > Resize Painting and enter the size you want. Remember to untick the ‘Preserve Original Aspect’ box or you won’t be able to input both measurements. Don’t be put off when the dialogue doesn’t precisely stick to the measurements input either, certain internal adjustments are made to accommodate for screen pixels and it will be close enough.
Tip: Save settings as a canvas preset or use the included default presets.
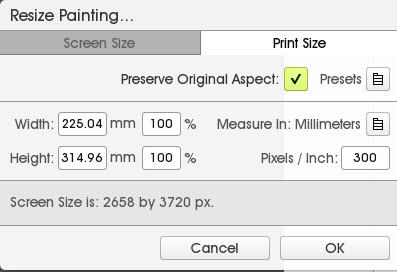
An optional extra is to go back into the dialogue again after you’ve set up the page and (ticking the Preserve Original Aspect box this time), bump up the size to 125% or 150%. This is something that print publishers often ask for as it affords them more wriggle room to move the image and type around.
Guide Lines
Add Guides around the canvas to mark out the composition and bleed areas.
ArtRage 5 now offers guides. These are lines you can place around the canvas that are visible while you work on a piece, but won’t show up when you export for print. They are really useful for marking out areas like ‘bleed’ and text areas – that kind of thing. They’ll remind you where not to put details you want to be seen. Nothing is more annoying than having important areas of the image hidden behind type or cropped off the edge!
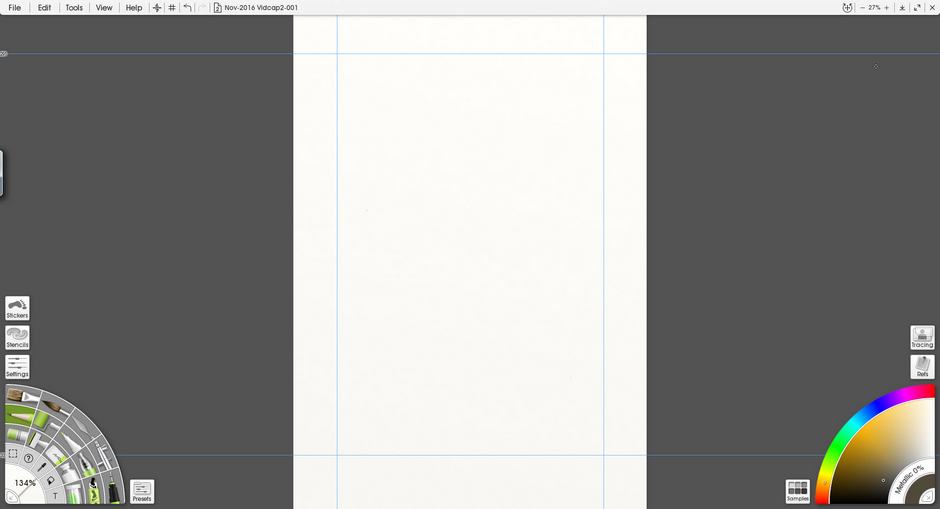
Adding Guides
Simply drag them out to where you want them from the small icons in the top left of the work space.
Learn more about Guides and other graphic design tools in ArtRage 5.
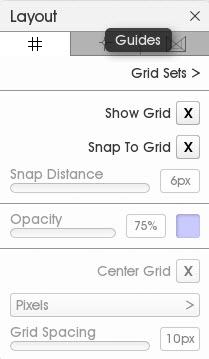
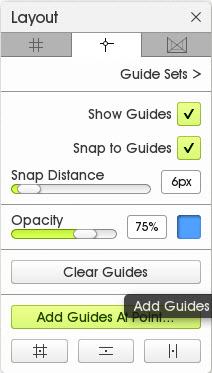
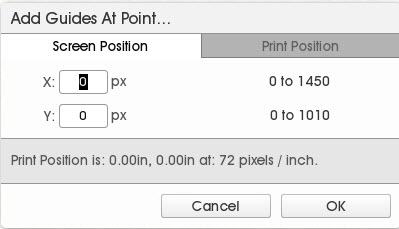
For precision placement you can use the ‘Add Guide at Point’ option. You can access that through the Layout Panel as one of the options under the ‘Guide’ tab.
Interface & Tools Set Up
Classic or Docking Mode?
Set up the interface the way you want it to improve your personal efficiency or comfort.
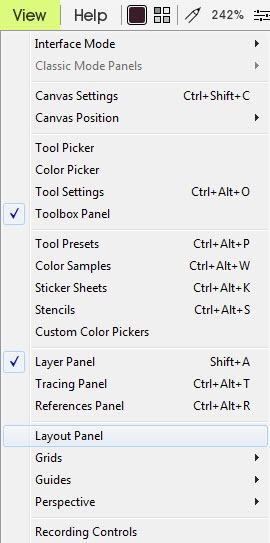
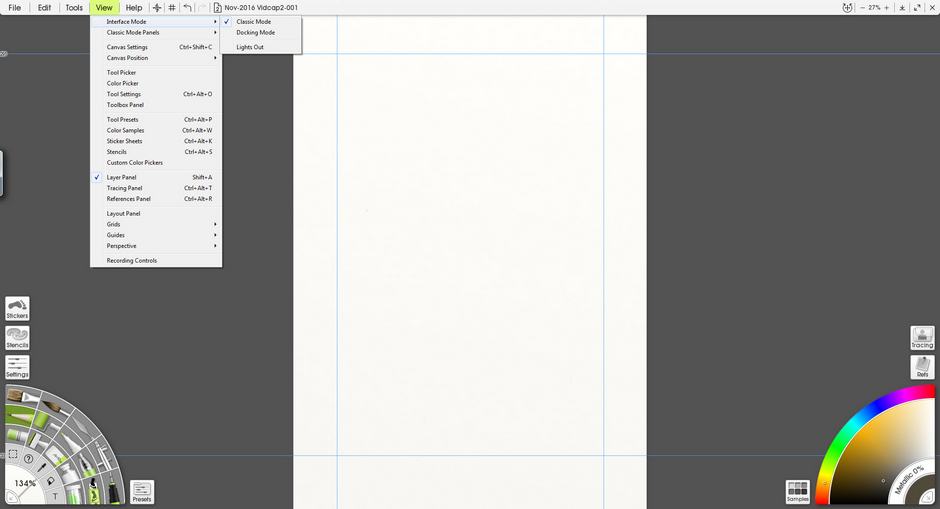
ArtRage 5 offers both the standard ‘Classic’ mode and a more customisable ‘Docking’ mode. I prefer to work in ‘Docking Mode’, so I select that through View > Interface Mode.
I then dock the layer panel to one side, and a custom palette (Toolbox) to the other.
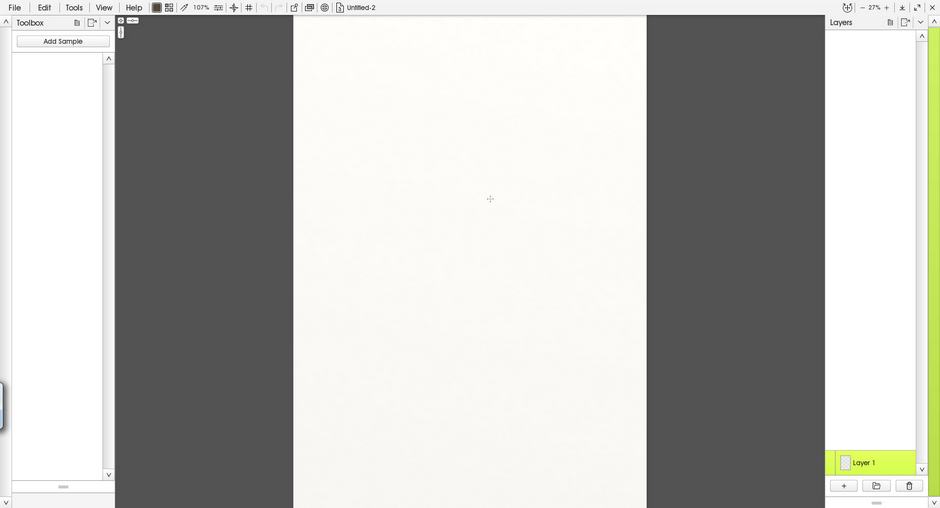
The custom palette has a few of my favourite tools in it, with preferred settings. It saves time having them to hand, rather than having to go back to the tool panel and/or presets each time.
Now I add a new layer to draw on and am ready to start.
Custom Brush Creation
A number of Custom Brushes were made specifically for this tutorial and you can watch the creation process in the video below. Most of them were used to add texture, grass, and patterns in part 3 (colouring and special effects), but you can stop and create new brushes at any point.
To learn more about using the Custom Brush Designer to make your own brushes in ArtRage 5, see the custom brush online manual or the ‘Designing A Clumpy Wool Custom Brush’ tutorial.
Canvas Colour
I add a colour tint to the canvas layer with the ‘bucket fill’ (Fill Tool) to take the edge off the stark white. In this case, I use a very light yellow tint.
Note: You can also simply change the colour of the canvas by going to View > Canvas Settings..
 It is now ready to start sketching in Part Two of this tutorial.